Wireguard in Kubernetes – V2
One of the first things I added to Kubernetes was OpenVPN, so that I can use devices away from home in a secure manner. It worked well, but had some shortcomings…
First, it resulted in a slower connection. Granted, use of this meant that there were two passes across my home Internet connection (device to home via tunnel, home to destination, destination to home, home to device via tunnel), it still wasn’t too fast.
Second, when using OpenVPN, I couldn’t (or didn’t know how to) make use of the PI-Hole advertisement blocker running in my cluster. That meant even more content being processed, when using OPenVPN.
Third, it was a little tedious setting up clients. Creating client configurations on the OPenVPN pod, extracting them off, transferring them to devices, like phones, so I could load them into the OpenVPN client.
Fourth, there were some places, where I could not seem to establish a connection via the tunnel, using OpenVPN. I never really figured out why, as I was usually using my phone, versus laptop, so I couldn’t really diagnose what the issue was.
Enter Wireguard
Wireguard is touted as a faster, newer, more secure (latest cryptographic algorithms), and more performant than OpenVPN. I was anxious to get it running under Kubernetes. Through the process, I did learn a few things…
Speed! Running https://www.speedtest.net/ from my laptop at home, I would see these numbers:
| Method | Download | Upload |
| Normal Wi-Fi connection | 513.81 Mbps | 41.68 Mbps |
| Proton (Free) VPN | 278.05 Mbps | 32.53 Mbps |
| OpenVPN at home | 11.77 Mbps | 9.94 Mbps |
| Wireguard at home | 77.31 Mbps | 40.72 Mbps |
Obviously, Proton is faster as there is only one pass across my Internet connection, whereas OpenVPN and Wireguard require two passes across my connection. Wireguard is 4-6x faster that OpenVPN.
As part of the configuration with Wireguard, you specify the IP address of the DNS server to be used. In my case, I provided the LoadBalancer IP of my Pi-Hole server in my Kubernetes cluster, so that I had advertisement blocking available. This is really great addition.
Client setup with Wireguard involves a similar process of creating a configuration file, and getting it onto the client device, but it is a bit easier, as you can create keys and config files on your development machine. You still need to place a server config file on the Wireguard pod, but it is an easier process. I made scripts to simplify the process more. There is one nice feature with Wireguard, where you can convert the configuration file to a QR code, and then scan it from the device. This worked very well for phones and was easy to do.
One thing that OpenVPN had that I liked, was the display of connection information, along with a graph of the current transfer rate:
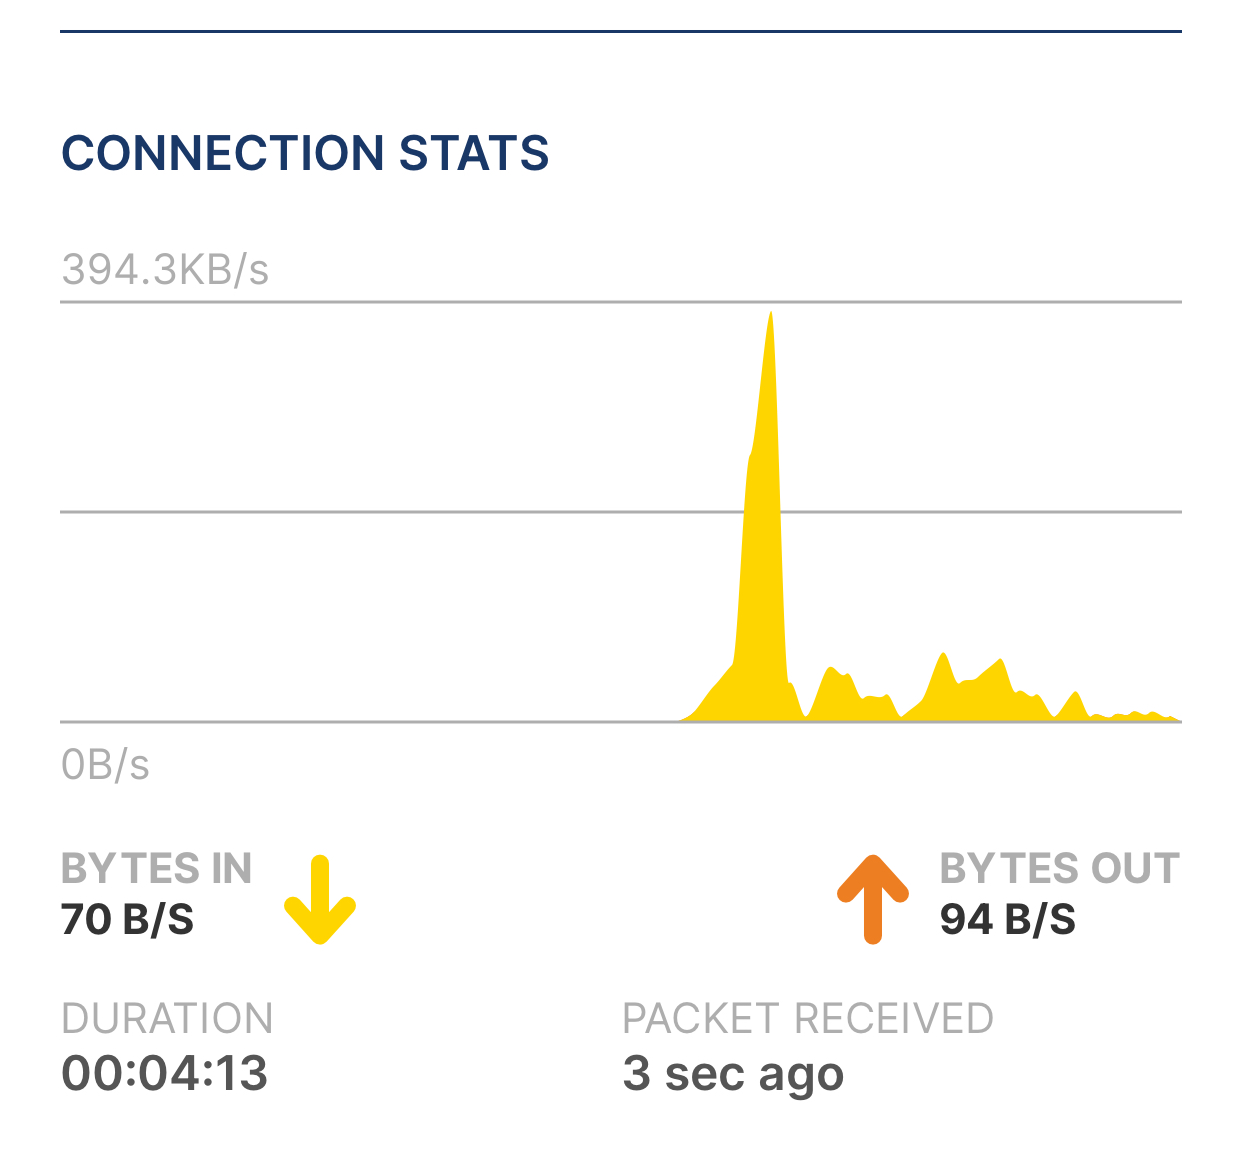
Wireguard just shows the cumulative packet received/sent count. Not a big deal, but was kind of nice.
I used information from https://blog.jamesclonk.io/posts/wireguard-on-kubernetes/, which had instructions on setting up Wireguard under Kubernetes and using Ad-Blocker to provide advertisement blocking. I created several scripts to help automate the process.
Prerequisites
To get Wireguard working, you’ll need the following…
- A Kubernetes cluster running (obviously).
- PI-Hole server running, if you want advertisement blocking.
- Poetry installed on your development machine.
- Python installed (I’m using 3.13, currently).
- Install Wireguard clients on the devices you intend to use.
- A registered domain name, so that your Wireguard server can be accessed remotely. If you had OpenVPN running, you’d already have this.
- On your router, you need to forward packets for port 51820 to the LoadBalancer IP that you setup for the Wireguard service.
On your development machine, clone my Github repo…
cd ~/workspace/kubernetes
git clone https://github.com/pmichali/wireguard.git
cd wireguard
Run “poetry install” and then “poetry shell” to setup the needed packages. We want wireguard-tools installed on the development machine, so that public/private keys can be created. On MacOS, I invoked “brew install wireguard-tools”.
General Configuration
We’ll use a wireguard.ini file to hold some of the general configuration settings. There is a wireguard.ini.sample that you can copy and then fill out the values. The file has:
[DEFAULT]
subnet = #.#.#
external_ip = A_DOMAIN_NAME_OR_IP
dns = LOADBALANCER_IP_OF_PIHOLE_SERVICE
clients = NAMES,OF,CLIENT,DEVICES
We’re assuming that the tunnel will be a class C network, so the first three octets of the IP address will be provided here. For example, “10.10.10”. For each device, we will specify the last octet of the IP address, when we are doing device configurations.
Your registered domain name would be provided for the external_ip value. This allows devices to find your Wireguard service, when out on the Internet.
The IP of the DNS server to use, is specified for the “dns” value. You can use a public DNS, but to get the benefit of advertiser blocking, I used the LoadBalancer IP of my PI-Hole’s service.
Finally, provide a list of (arbitrary) client names that you want to use. No spaces, after the commas.
Create Device Keys
Public and private keys are needed for the server and each of the clients. There is a python script that will use the wg command from wireguard-tools to create the keys. You’ll run it for each device, using the syntax:
python create-device.py NAME INDEX#
Where NAME is an arbitrary name for the device (except “server” is used for the server keys). For the clients, these unique names will be what you listed under the clients key in the wireguard.ini file above.
The INDEX# is an octet used for the device’s tunnel IP address. This will be 1 for the server, and 2-254 for clients. It gets appended to the “subnet” specified in the wireguard.ini to form the IP for each device.
This script will create a NAME.ini file in the data sub-directory (created, if needed). The file will contain the generated public and private keys, and the INDEX#.
So, at a minimum, this is run for the server, and then again for each client:
python create-device.py server 1
python create-device.py foo 4
python create-device.py bar 5
Create Configurations and QR Codes
Now that we have generated all the keys for the server and clients, and have identified the final IP address octet for each of the devices, the server configuration file, client configuration files, and the QR images that represent the client configuration files can be created.
Run the following command to create everything:
python build.py
This will create a data/wireguard-secrets.yaml file that is used to create a Kubernetes secret holding the server configuration. It has the server private key and IP address, IPTABLES rules for the tunnel, all the client public keys and IP addresses, and sets the tunnel MTU. I found that, by default, the tunnel MTU was 1400 and that was causing a problem with my MacOS laptop client. It is set to 1420 to resolve the problem (see notes later on how this was determined).
The server.tmpl file provides a template for the YAML file. You can customize the configuration, if needed.
For each client, it will create a data/client-NAME.conf file with the client private key, client tunnel IP address, DNS IP (from the wireguard.ini), server public key, domain name (or IP) and port used to access the Wireguard server from the Internet, and allowed IPs (0.0.0.0/0 and ::0, which specify that all traffic will use the tunnel).
You could specify the IPs used for the tunnel, if you wanted to have some traffic use the tunnel and some not use the tunnel.
The client.tmpl file is used to control the content in each of the client configuration files. You can customize the configuration, if needed.
The last step of this script is to use the generated client configuration files to create a PNG file with the QR code containing that configuration. You can either, load the .conf file into the client Wireguard app, or have it read the QR code.
Start Up The Wireguard Server
Now that we have the secret containing the server config, we can start the Wireguard server. Apply the secret YAML, and then the deployment:
kubectl apply -f data/wireguard-secrets.yanl
kubectl apply -f wireguard.yaml
You should see a deployment, service, and pod running. There is a exec-into-pod script that can be invoked to access the wireguard pod. From there, you can run “wg show” to see the list of peers and connection statuses, or “wg showconf wg0” to see the configuration settings. The show command has several options available. Use “-h” to see what can be performed.
Connect!
With a client, load its configuration file, or scan the QR code. Then, activate the link, and confirm that all traffic is now going through the tunnel. You can look at the server’s “wg show” output, use Wireshark, etc. Be sure to try going to several web sites to ensure that the MTU is correct for your client.
Final Notes
MTU
When I was trying my Mac laptop, most HTTPS websites would not load. It would hang at the authorization stage. That is when I found there was an issue with the MTU. I found a link on optimizing MTU that said to calculate the right MTU, do pings w/o fragmentation, specifying a size. When you determine the maximum size that works, add 28 and that is the tunnel MTU to use.
For MacOS, for example, I found that this command, with a size 1392, was the highest I could go:
ping -D -s 1392 cisco.com
Adding 28, gives 1420, so that is the MTU I used. The default of 1400, was causing problems.
Adding A Client
If you need to add a client, do these steps:
- Run the create-device.py script to generate the keys.
- Add the client name to the list of clients in the wireguard.ini file.
- Re-run the build.py script to update the secret with server config and to create the client config.
- Apply the data/wireguard-secrets.yaml file so the new server config is stored.
- Run the delete-pod helper script to cause a new pod to be created with the updated server configuration.
- Load the data/client-NAME.conf or read the data/NAME.png QR file in the Wireguard client.
Deleting A Client
Deleting a config would be similar, removing the client name from wireguard.ini, building a new secret, applying the YAML, and deleting the pod to load the new config.