V1.2
Overview
Since I was able to get a Kubernetes cluster running with IPv6 only on bare metal, the next logical step was to give a go at trying to bring up Istio. Like the Star Trek movie, this was something untried, and my goal in this blog is to document my efforts to try Istio on IPv6 as a Proof of Concept (PoC). Spoiler: I have it working, but the road to make this a reality, will take quite a few code changes.
Update: Had presented a summary of IPv6 readiness at Istio Community Meeting 3-22-18 At 15:55 mark.
Assumptions
This isn’t for the faint at heart, but I’ll try to make it as cookbook as possible (granted, I need to verify this on a fresh setup, in case my memory failed me on some steps). That said, I expect that you have bare metal systems available, network topology set up, needed tools installed (e.g. Go, GIT, docker, lazyjack), accounts set up on github.com and hub.docker.com, and have installed the Kubernetes that you want to use (1.9+).
For my setup, I have three Ubuntu 16.04 machines, each with IPv4 access to the outside, and a separate interface connected to a switch for Kubernetes management and pod networks. Go is at 1.9.2. I have a cloned Kubernetes master branch on February 14th, 2018 (commit f33e0b3), and built all the needed apps. Kubectl, kubeadm, and kubelet are at v1.9.3 and placed in /usr/bin/. It’s not critical to have the latest and greatest here, as long as it is 1.9+ code.
For Istio, I tried to use the path of least resistance and decided to use NodePort, instead of LoadBalancer, and not to use authentication. I plan on trying MetalLB that I previous tried on a IPv4 cluster.
Starting point
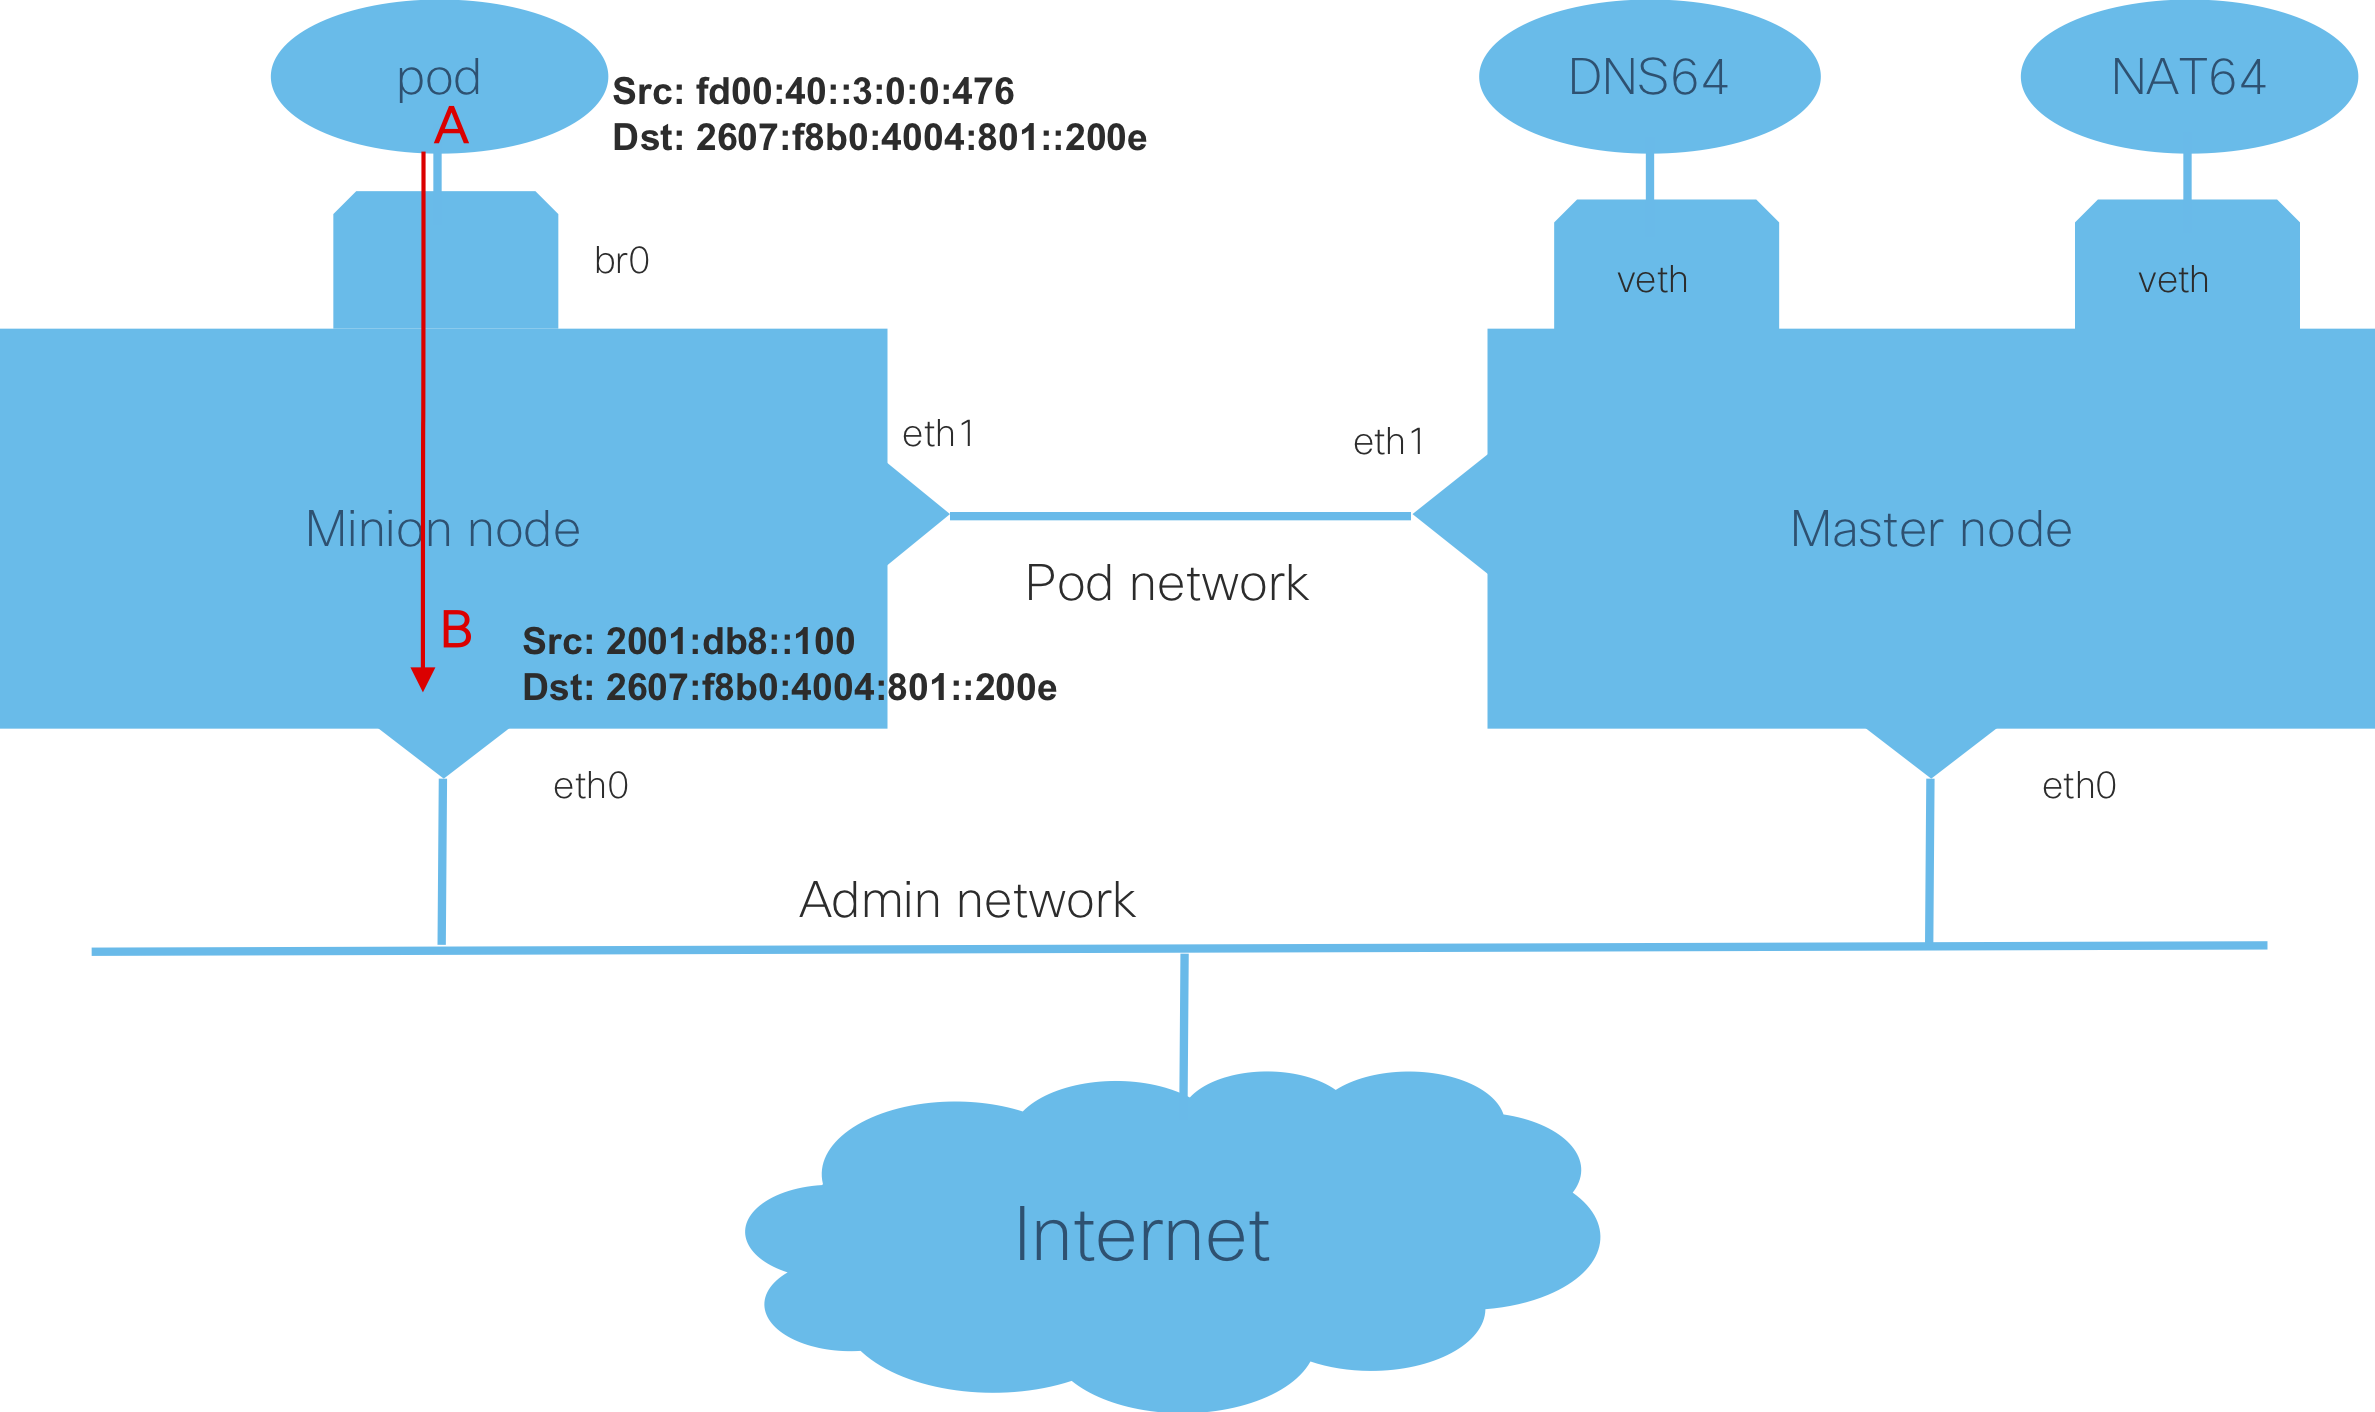
Since I had my LazyJack tool working, I used that to bring up my cluster with IPv6. It uses the reference bridge plugin, and has static routes so that nodes can communicate with each other. Here is the config.yaml that I used for my cluster:
plugin: bridge
topology:
 bxb-c2-77:
 interface: "enp10s0"
 opmodes: "master dns64 nat64"
 id: 2
 bxb-c2-78:
 interface: "enp9s0"
 opmodes: "minion"
 id: 3
 bxb-c2-79:
 interface: "enp10s0"
 opmodes: "minion"
 id: 4
support_net:
 cidr: "fd00:10::/64"
 v4cidr: "172.18.0.0/16"
mgmt_net:
 cidr: "fd00:20::/64"
pod_net:
 prefix: "fd00:40:0:0"
 size: 80
service_net:
 cidr: "fd00:30::/110"
nat64:
 v4_cidr: "172.18.0.128/25"
 v4_ip: "172.18.0.200"
 ip: "fd00:10::200"
dns64:
 remote_server: "64.102.6.247"
 cidr: "fd00:10:64:ff9b::/96"
 ip: "fd00:10::100"
Everything needed for this setup, was done by LazyJack in about five minutes, and worked just fine. I have a Kubernetes cluster running IPv6. Now, let the hacking begin!
Istio Preparation
Using the Developer’s Guide as reference, and knowing I already had Go installed, I went right to cloning and setting up the Istio repo…
export ISTIO=$GOPATH/src/istio.io
export HUB="docker.io/pmichali"
export TAG=pmichali
export GITHUB_USER=pmichali
export KUBECONFIG=${HOME}/.kube/config

mkdir -p ~/go/src/github.com/istio.io
cd ~/go/src/github.com/istio.io
git clone https://github.com/istio/istio
cd istio
You would want to substitute “pmichali” with your github.com and hub.docker.com username (I did same for tag name). Do a “docker login” to your hub.docker.com account, so that pushes will work later on.
I checked out the latest from master and built everything. In this case, I’m using commit 18a20f9 from March 4th, 2018 and used a separate branch.
git checkout -b trial-20180305
Spam, Spam, Eggs, and Spam…
Here’s were the fun starts. Several changes are needed to support IPv6. It’s not really that many, however, there are a few changes that, to make them permanent, will require some larger effort. In addition, changes are needed to the sample apps, like BookInfo.
As a starting point, I have a fork of Istio, where I’ve created an ipv6 branch that is based off of the March 4th, 2018 commit on master (18a20f9). You can take the latest commit (6299579) off of the ipv6 branch, or cherry pick the ones you want. I’ll make issues and submit PRs to Istio for the easy changes that I’ve made.
The first patch (commit a5451cd) modifies validation of proxy addresses in Pilot, to accept IPv6 addresses correctly.
The second patch (commit 0502713) changes the hostname to IP resolution in Pilot, to add the needed square brackets to IPv6 addresses (separating the port from IP part).
The third patch (commit e7e5d48) changes the bootstrap code, so that it can parse IPv6 for Pilot discovery, Zipkin, and statsd addresses that are stored in config.
The other bootstrap code patch (commit 21b82c4), changes a JSON template file, which has the side effect of altering the output of the test files. As a result, the patch also includes updated golden files, so that unit tests pass. For this to be upstreamed, we need to be able to test bootstrap with both IPv4 and IPv6, and have a way to allow deployment of the template file in either mode.
For the Envoy Pilot JSON file(commit 65dc3e9), the IP addresses are patched to use IPv6 addresses for localhost and any host. Like the previous patch, IPv6 is forced, and to upstream, this needs to be configurable, so that users can use either IPv4 or IPv6 mode.
There are two constants in Istio, which specify the wildcard and localhost addresses. This was patched (commit 814036f) so that IPv6 addresses are used. Like the one bootstrap change, this affects the output of the golden files, so they are included in this commit (quite a few of them). Again to make this upstreamable, this should be configurable, so that users could enable IPv6 mode and use IPv6 addresses everywhere.
I forgot to run lint, before each commit, so I did another commit (commit b7302ab) to fix those warnings, although the actual upstream commits would have to fix these warnings, and do a cleaner fix than the quick and dirty changes I did.
That is it for the base Istio code. We’ll talk about the some of the sample applications later in the blog.
Build Everything
Now that the code is changed, and we have the minimum unit test modifications so that things will pass, build everything (you’ll need to do “docker login”, before doing the push):
make
make docker
make push

install/updateVersion.sh -a ${HUB},${TAG}
I edited install/kubernetes/istio.yaml so that it uses NodePort, instead of LoadBalancer (search and replace), and uncommented the line selecting port (32000).
The Moment of Truth
Bring up the Istio components:
kubectl apply -f install/kubernetes/istio.yaml
You should see that all the services and pods are up and running, and most importantly, that pods are not restarting or in a crash loop. This is what I see on my setup:
$ kubectl get pods --all-namespaces -o wide
NAMESPACE      NAME                                READY     STATUS    RESTARTS   AGE       IP                   NODE
istio-system   istio-ca-5dfc8d9499-jlkdf           1/1       Running   0          10m       fd00:40::3:0:0:25f   bxb-c2-78
istio-system   istio-ingress-df5f9b947-rdn4g       1/1       Running   0          10m       fd00:40::4:0:0:12d   bxb-c2-79
istio-system   istio-mixer-7d95868d79-tmgf6        3/3       Running   0          10m       fd00:40::4:0:0:12c   bxb-c2-79
istio-system   istio-pilot-97d94c7f6-nr7nj         2/2       Running   0          10m       fd00:40::3:0:0:25e   bxb-c2-78
kube-system    etcd-bxb-c2-77                      1/1       Running   0          5h        fd00:20::2           bxb-c2-77
kube-system    kube-apiserver-bxb-c2-77            1/1       Running   0          5h        fd00:20::2           bxb-c2-77
kube-system    kube-controller-manager-bxb-c2-77   1/1       Running   0          5h        fd00:20::2           bxb-c2-77
kube-system    kube-dns-dcf744547-nzzr2            3/3       Running   0          5h        fd00:40::2:0:0:2d    bxb-c2-77
kube-system    kube-proxy-5vbjw                    1/1       Running   0          5h        fd00:20::3           bxb-c2-78
kube-system    kube-proxy-kf5cm                    1/1       Running   0          5h        fd00:20::4           bxb-c2-79
kube-system    kube-proxy-s479m                    1/1       Running   0          5h        fd00:20::2           bxb-c2-77
kube-system    kube-scheduler-bxb-c2-77            1/1       Running   0          5h        fd00:20::2           bxb-c2-77
$ kubectl get svc --all-namespaces -o wide
NAMESPACE      NAME            TYPE           CLUSTER-IP        EXTERNAL-IP   PORT(S)                                                            AGE       SELECTOR
default        kubernetes      ClusterIP      fd00:30::1                443/TCP                                                            5h
istio-system   istio-ingress   LoadBalancer   fd00:30::2:1e82        80:30802/TCP,443:32379/TCP                                         10m       istio=ingress
istio-system   istio-mixer     ClusterIP      fd00:30::1:1fbc           9091/TCP,15004/TCP,9093/TCP,9094/TCP,9102/TCP,9125/UDP,42422/TCP   10m       istio=mixer
istio-system   istio-pilot     ClusterIP      fd00:30::3:ec89           15003/TCP,15005/TCP,15007/TCP,8080/TCP,9093/TCP,443/TCP            10m       istio=pilot
kube-system    kube-dns        ClusterIP      fd00:30::a                53/UDP,53/TCP                                                      5h        k8s-app=kube-dns
What About The Apps?
BookInfo
I’d be remiss, if I didn’t spin up the BookInfo app. After monkeying with this for a while, I realized that this app also needed some changes as well.
I did another patch (commit 4ea619d) that changes the bind address to “::” for book info, so it is listening on the the right IP/port. Also, since I was modifying the app, I needed a way to modify the images that were created, to use my changes. I updated the build_push_update_images.sh script to push the images created, to my repo (instead of docker.io/istio).
With this commit, I ran the script and provided a dummy version:
cd ~/go/src/istio.io/istio/samples/bookinfo
./build_push_update_images.sh 0.0.0
cd ../..
kubectl create -f install/kubernetes/istio-sidecar-injector-configmap-debug.yaml
kubectl apply -f <(istioctl kube-inject -f samples/bookinfo/kube/bookinfo.yaml --injectConfigMapName istio-inject)
Once everything is up, you can access the BookInfo productpage, by using the service IP or pod network IP and the port (9080). For example:
kubectl get svc --all-namespaces | grep productpage
default productpage ClusterIP fd00:30::2:8091 <none> 9080/TCP

curl [fd00:30::2:8091]:9080
To upstream, this app needs to be modified so that the user can select between an IPv4 and IPv6 variant.
Helloworld
This app also needed to be modified to listen on the IPv6 any address, so another patch was committed (commit 6299579). New images are created:
cd ~/go/src/istio.io/istio/samples/helloworld/src/
./build_service.sh
Then, I would tag and push the two images to my docker hub area:
docker tag istio/examples-helloworld-v1:latest docker.io/pmichali/examples-helloworld-v1:pmichali
docker tag istio/examples-helloworld-v2:latest docker.io/pmichali/examples-helloworld-v2:pmichali

docker push pmichali/examples-helloworld-v1
docker push pmichali/examples-helloworld-v2
Prior to applying the ~/go/src/istio.io/istio/samples/helloworld/helloworld.yaml, I modified it (in two places) to point to my images (e.g. docker.io/pmichali/examples-helloworld-v1:pmichali anddocker.io/pmichali/examples-helloworld-v2:pmichali) and I changed the imagePullPolicy to Always. The final step, is to then apply this YAML file:
cd ~/go/src/istio.io/istio/samples/helloworld/
kubectl apply -f helloworld.yaml
With this app, there is a nodeport, so you can access it from the service or pod network IP and port 5000, or the node IP using the nodeport:
kubectl get svc | grep helloworld
helloworld    NodePort    fd00:30::76ae             5000:30780/TCP   5m

kubectl get pods --all-namespaces -o wide | grep helloworld
default        helloworld-v1-6759b98975-c6vft      1/1       Running   0          4m        fd00:40::4:0:0:131   bxb-c2-79
default        helloworld-v2-7c6c464dc-g2pcl       1/1       Running   0          4m        fd00:40::3:0:0:263   bxb-c2-78

$ curl [fd00:30::76ae]:5000/hello
Hello version: v1, instance: helloworld-v1-6759b98975-c6vft
$ curl [fd00:40::3:0:0:263]:5000/hello
Hello version: v2, instance: helloworld-v2-7c6c464dc-g2pcl
$ curl [fd00:20::3]:30780/hello
Hello version: v2, instance: helloworld-v2-7c6c464dc-g2pcl
This app should be modified so that the IP mode is configurable.
Cleanup
For the apps, you can do:
cd ~/go/src/istio.io/istio/samples/helloworld/
kubectl delete -f helloworld.yaml
cd ~/go/src/istio.io/istio/
kubectl delete -f <(istioctl kube-inject -f samples/bookinfo/kube/bookinfo.yaml --injectConfigMapName istio-inject)
For Istio, run:
cd ~/go/src/istio.io/istio/
kubectl delete -f install/kubernetes/istio.yaml
To bring down Kubernetes, you can use “sudo lazyjack down” on minions and then master mode. Follow this with “sudo layjack clean” to remove everything related to the provisioning for Kubernetes.
Final Notes/Observations
I was noticing that, with the BookInfo app, I could “curl” to port 9080, using the service IP and the pod network IP, but I was unable to curl to the app from port 9080 using the node IP address. Also, the service didn’t show a nodeport for BookInfo, and using 32000 did not work either. I didn’t see the NodePort type called out in any of the YAML files. I not sure if there should have been a nodeport defined or if that should work.
With the helloworld app, I could access it from port 5000 using the service and pod IPs, and from port 32677 (shown for the service) using the node’s IP. This worked as expected.
The needed code changes will be easy, in fact, I plan on cleaning up what I have (and adding UTs for the changes). For the JSON and YAML file changes, some form of templating mechanism will be needed to allow operation in either IPv4 or IPv6 mode.
Keep in mind, that if you need to do some iterations on code changes, make sure that the deployment YAML files are set to “Always” pull images, or you need to ensure each node gets the updated version. I would do the following on my nodes (sometimes with the -f option):
docker rmi `docker images --format="{{.ID}} {{.Repository}} {{.Tag}}" | grep pmichali | cut -f 1 -d" "`
docker rmi `docker images --format="{{.ID}} {{.Repository}} {{.Tag}}" | grep istio| cut -f 1 -d" "`
docker rmi `docker images --format="{{.ID}} {{.Repository}} {{.Tag}}" | grep helloworld | cut -f 1 -d" "`
docker rmi `docker images --format="{{.ID}} {{.Repository}} {{.Tag}}" | grep bookinfo | cut -f 1 -d" "`
Also, if you run the updateVersion.sh script, you’ll need to make sure that istio.yaml has NodePort set, instead of LoadBalancer, and the port 32000 line uncommented.
Some thought will be needed on how to setup the samples for either IPv4 or IPv6 mode of operation.