Part I: Raspberry PI Kubernetes Cluster Goals
Goals
Currently, I have a few of old tower based Linux servers, running services (VPN, file server, Emby music server, a custom app for monitoring my photovoltaic system, etc). I had started to adapt several of these to run in containers, so that I could move them around, if a system failed, especially since the systems were getting quite old.
In addition, I started to buy some Raspberry PIs so that I had newer technology and hosts that used much less power than my old gear, and I could place these containers on the PIs.
Since I worked with Kubernetes development for several years, before retiring, I decided to build a cluster so I had a way to spread the workload, easily move pods around upon failures, monitor and manage the system, and scale it out as I get more Raspberry PIs.
For the initial design, I have five Raspberry PIs right now, though one is currently hosting a bunch of containers. Plan was to put four of them into service right now, and then once I have my containers migrated over to the cluster, I can add the fifth system. I just got a sixth one for Christmas, so I’ll be adding that in soon.
General Design
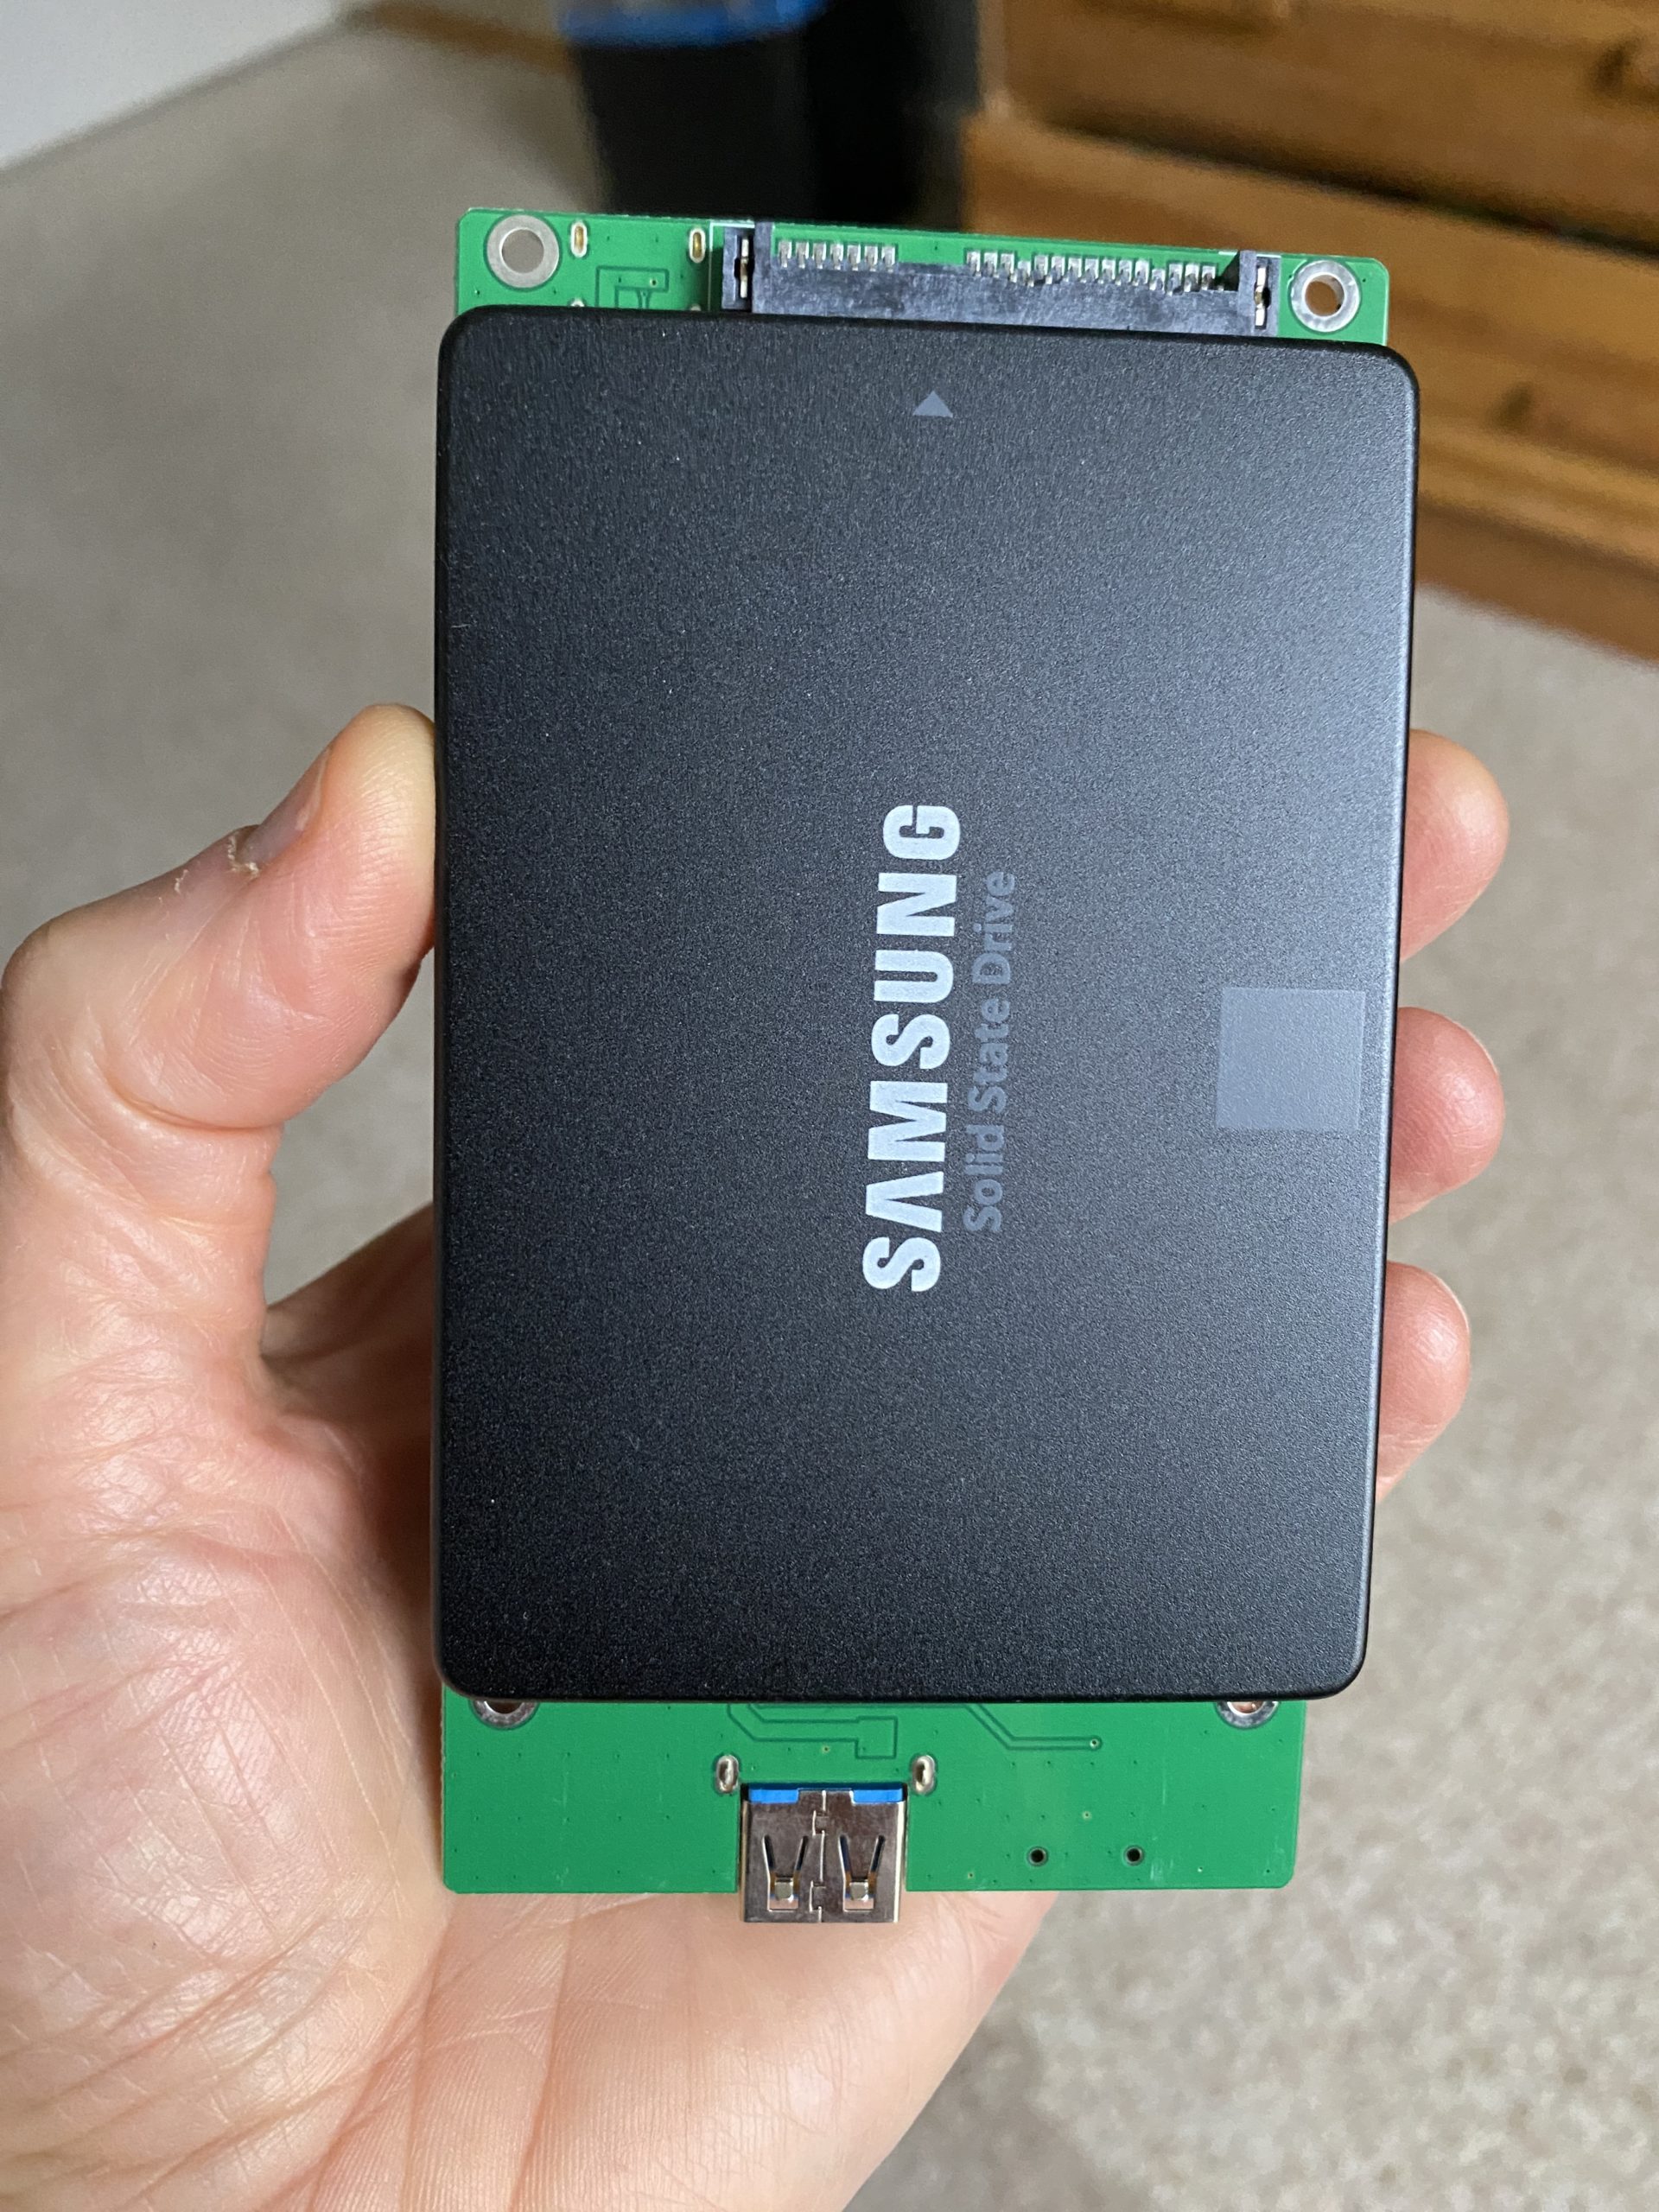
For the hardware, I’m using Raspberry PI 4s with 8 GB RAM (~$85 each), and I have the PoE+ Hats (~$28), so that I can power them off of the PoE based ethernet hub I have (LinkSys LGS116P 8 regular ports, 8 PoE ports ~$120). I purchased a bunch of Samsung 1 TB SSD drives (870 EVO ~$50). Probably should have gotten 2 TB or larger.
I found a really cool product from UCTRONICS (model B0B6TW81P6 ~$290), which consists of a 1U rack mounted enclosure that holds four Raspberry PI4s, each in a removable tray. There are two fans inside as well. Since I needed one or two more PIs, I also found just a face plate (model RM1U ~ $11) and individual tray units (RM1U-3 ~$76 each). Here is a picture of the enclosure on the bottom, and the face plate on the top.
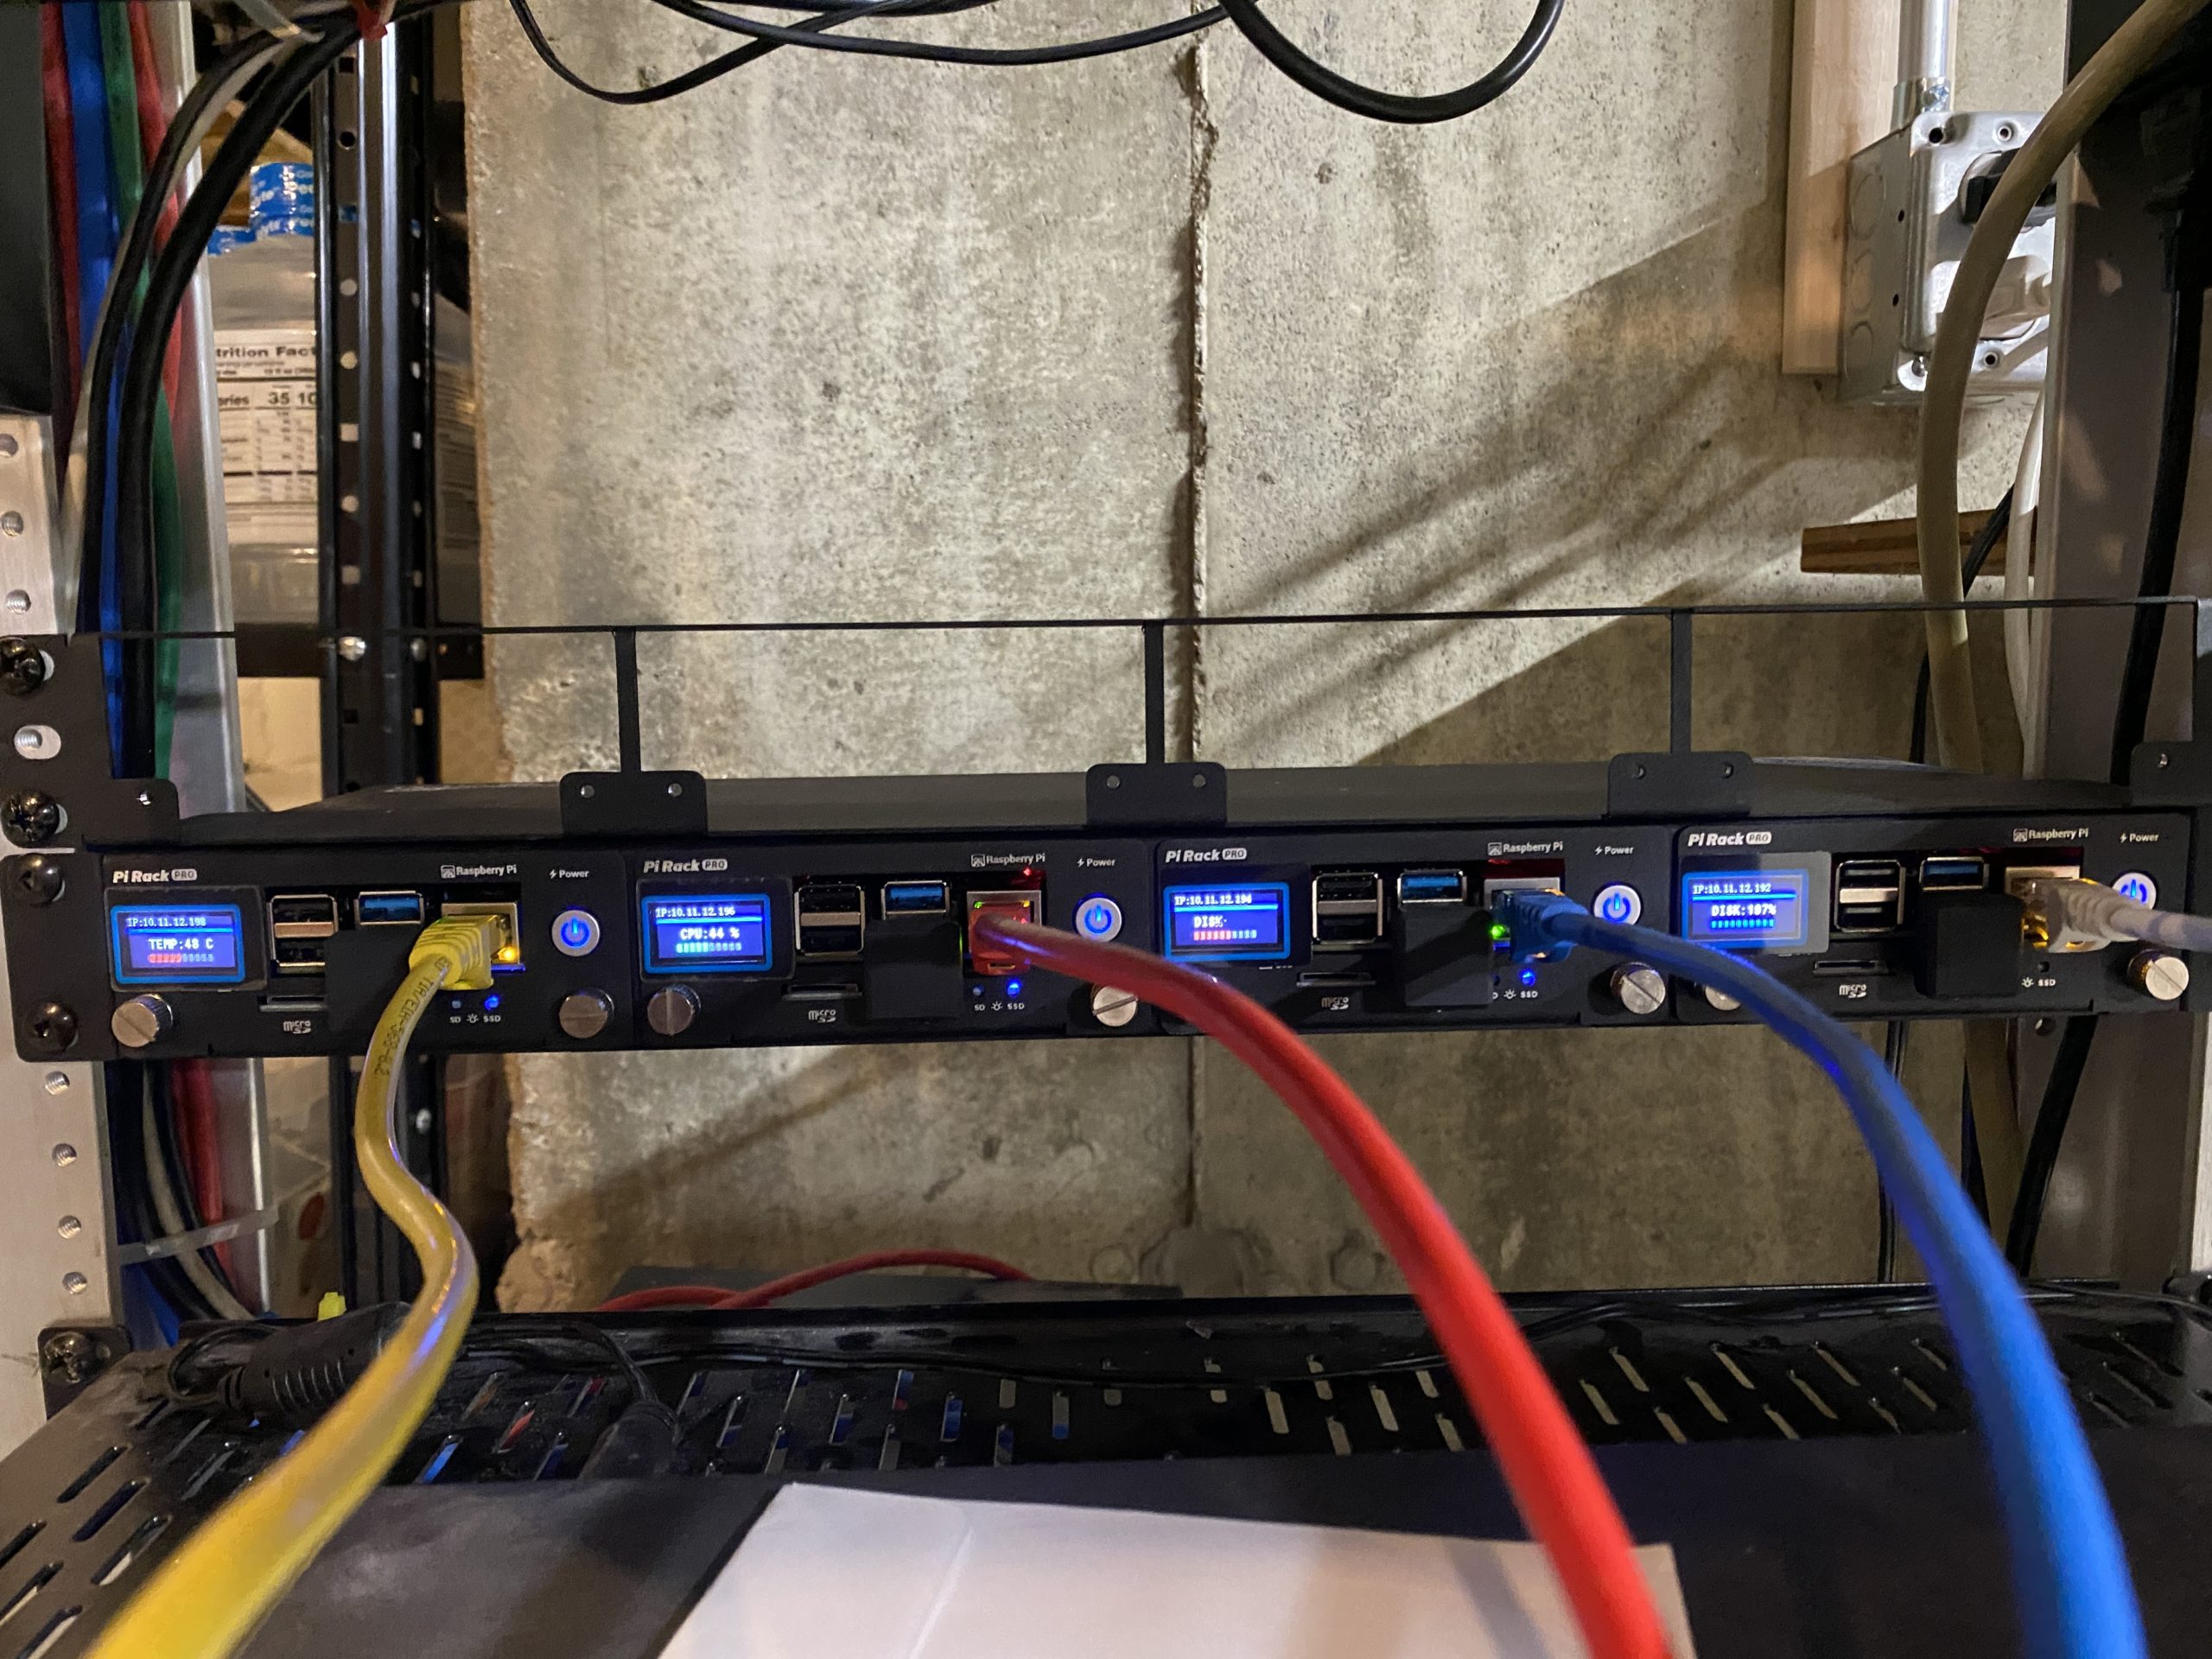
Each of the tray units have a “SATA shield” logic board with SATA connector for the SSD drive on the bottom, a USB connector on the top that can be connected to the USB3 port of the PI using the provided connector and a jumper.
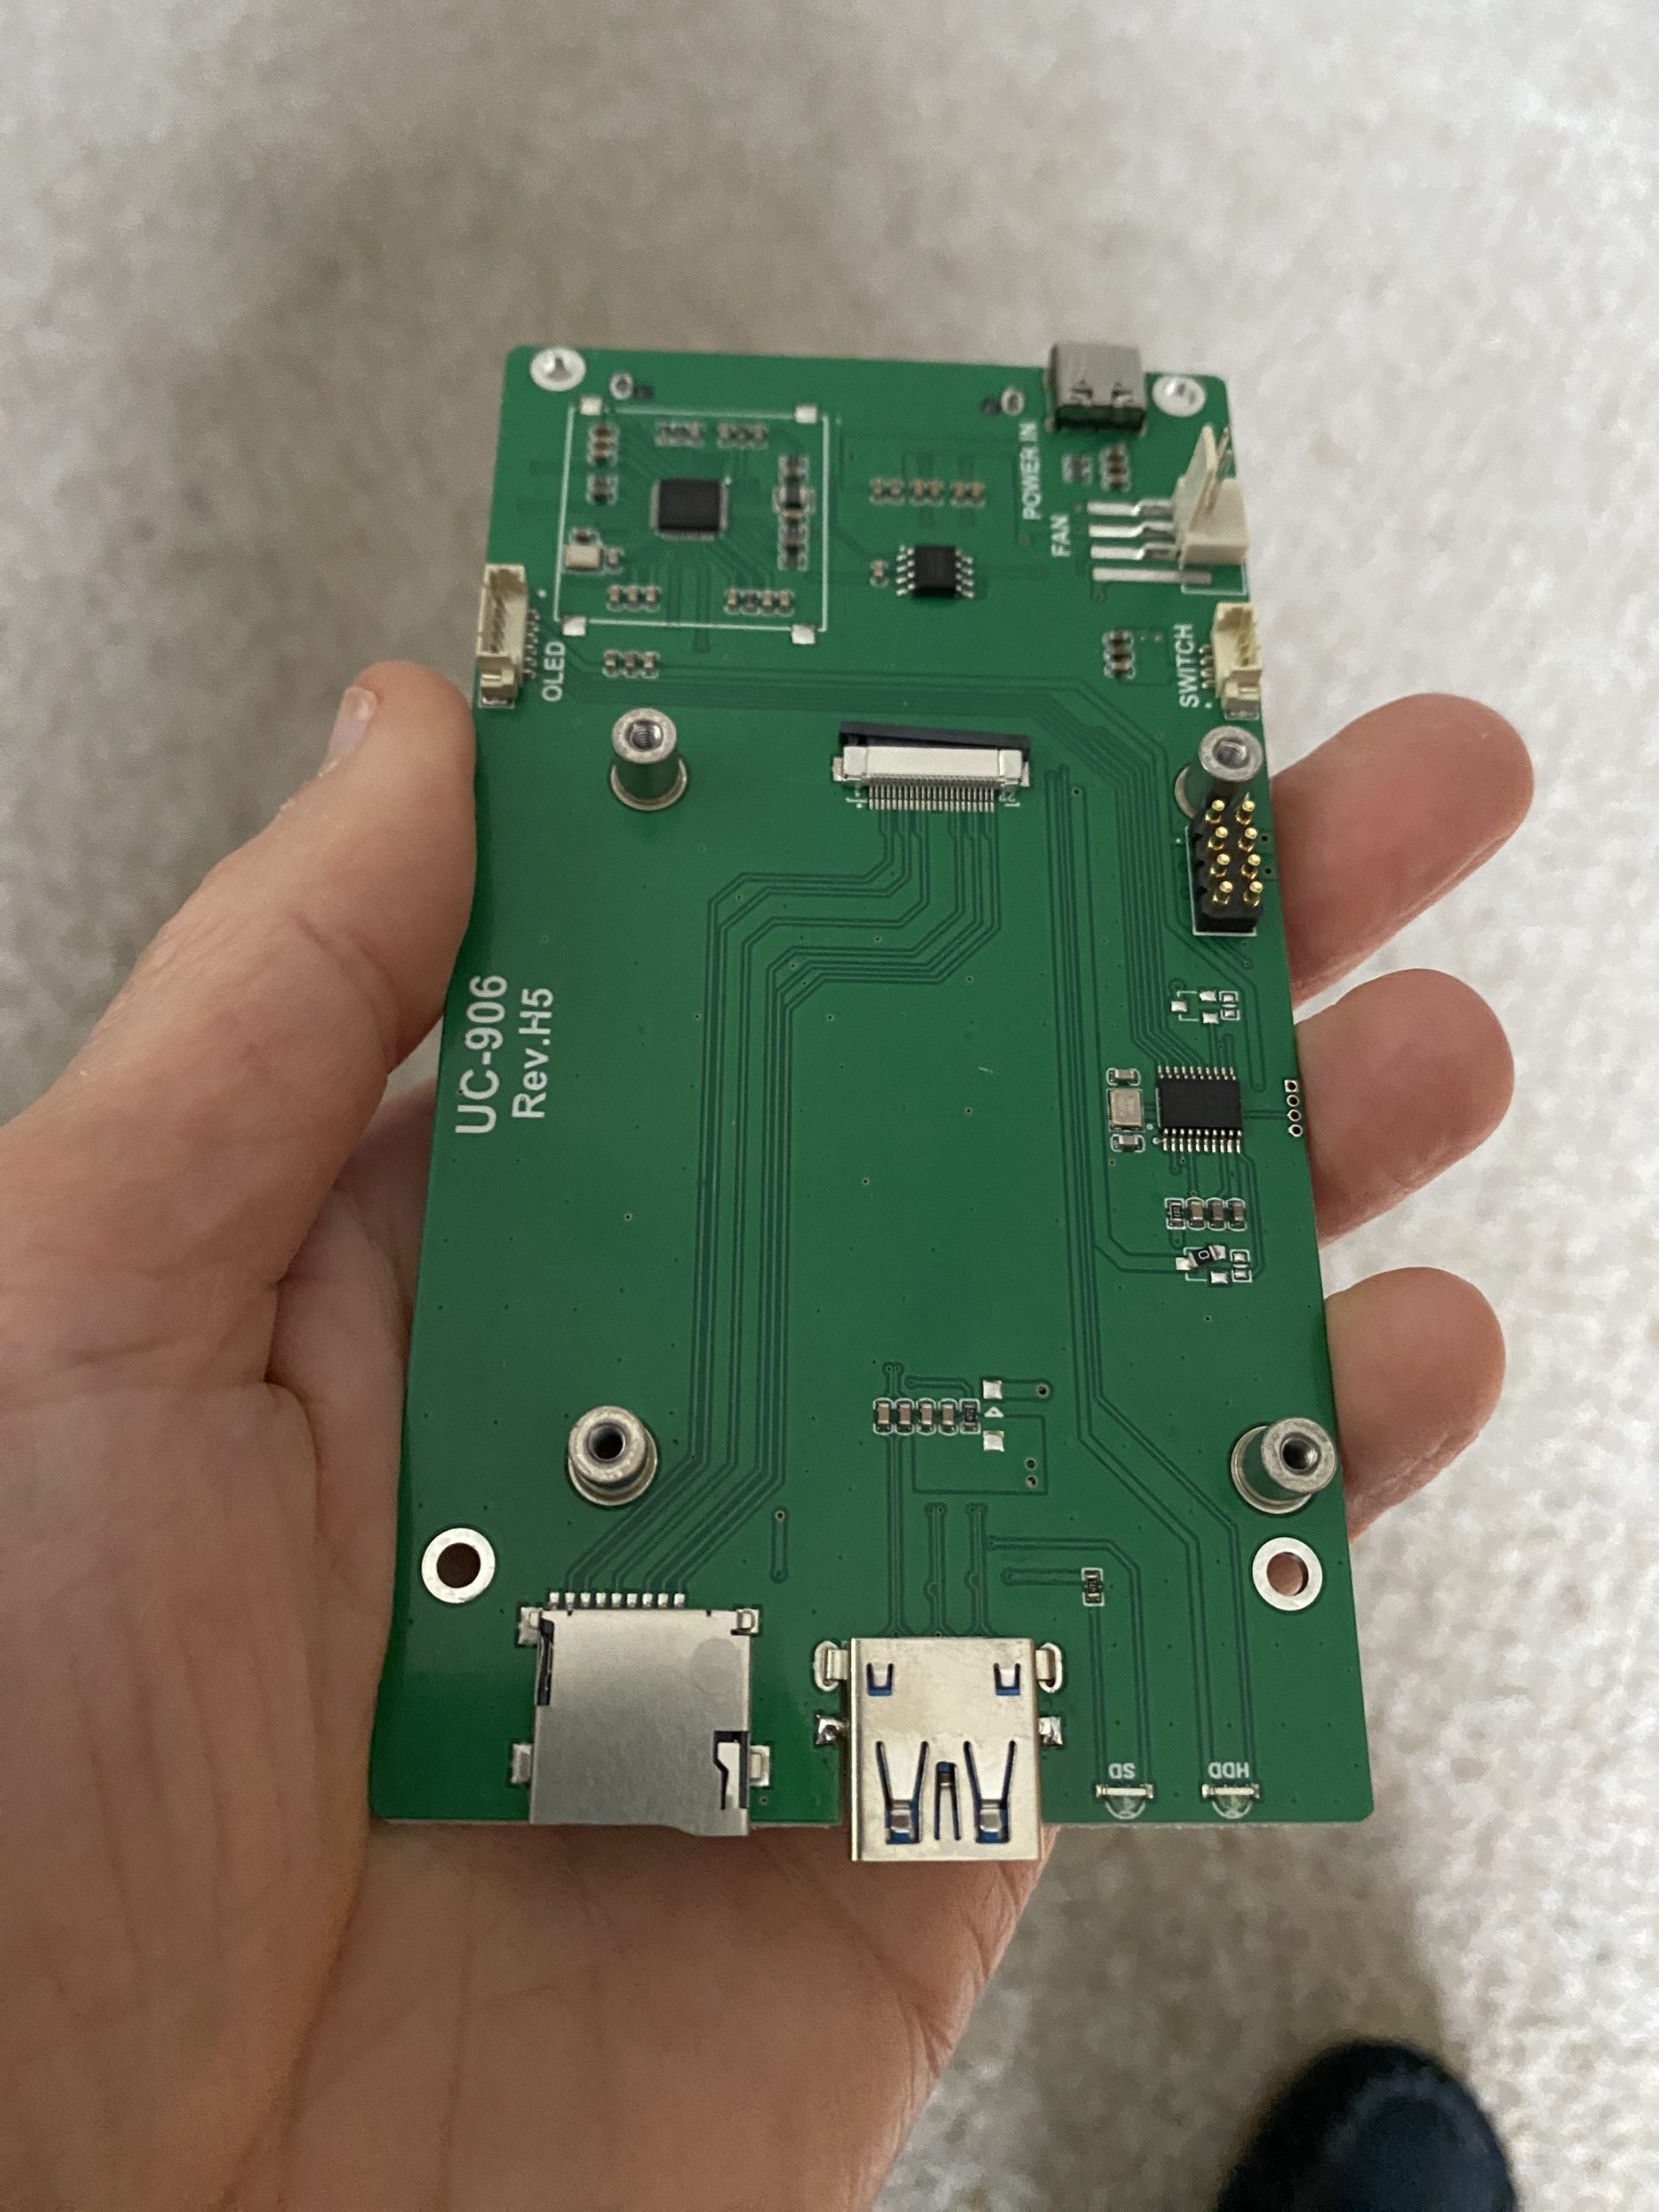
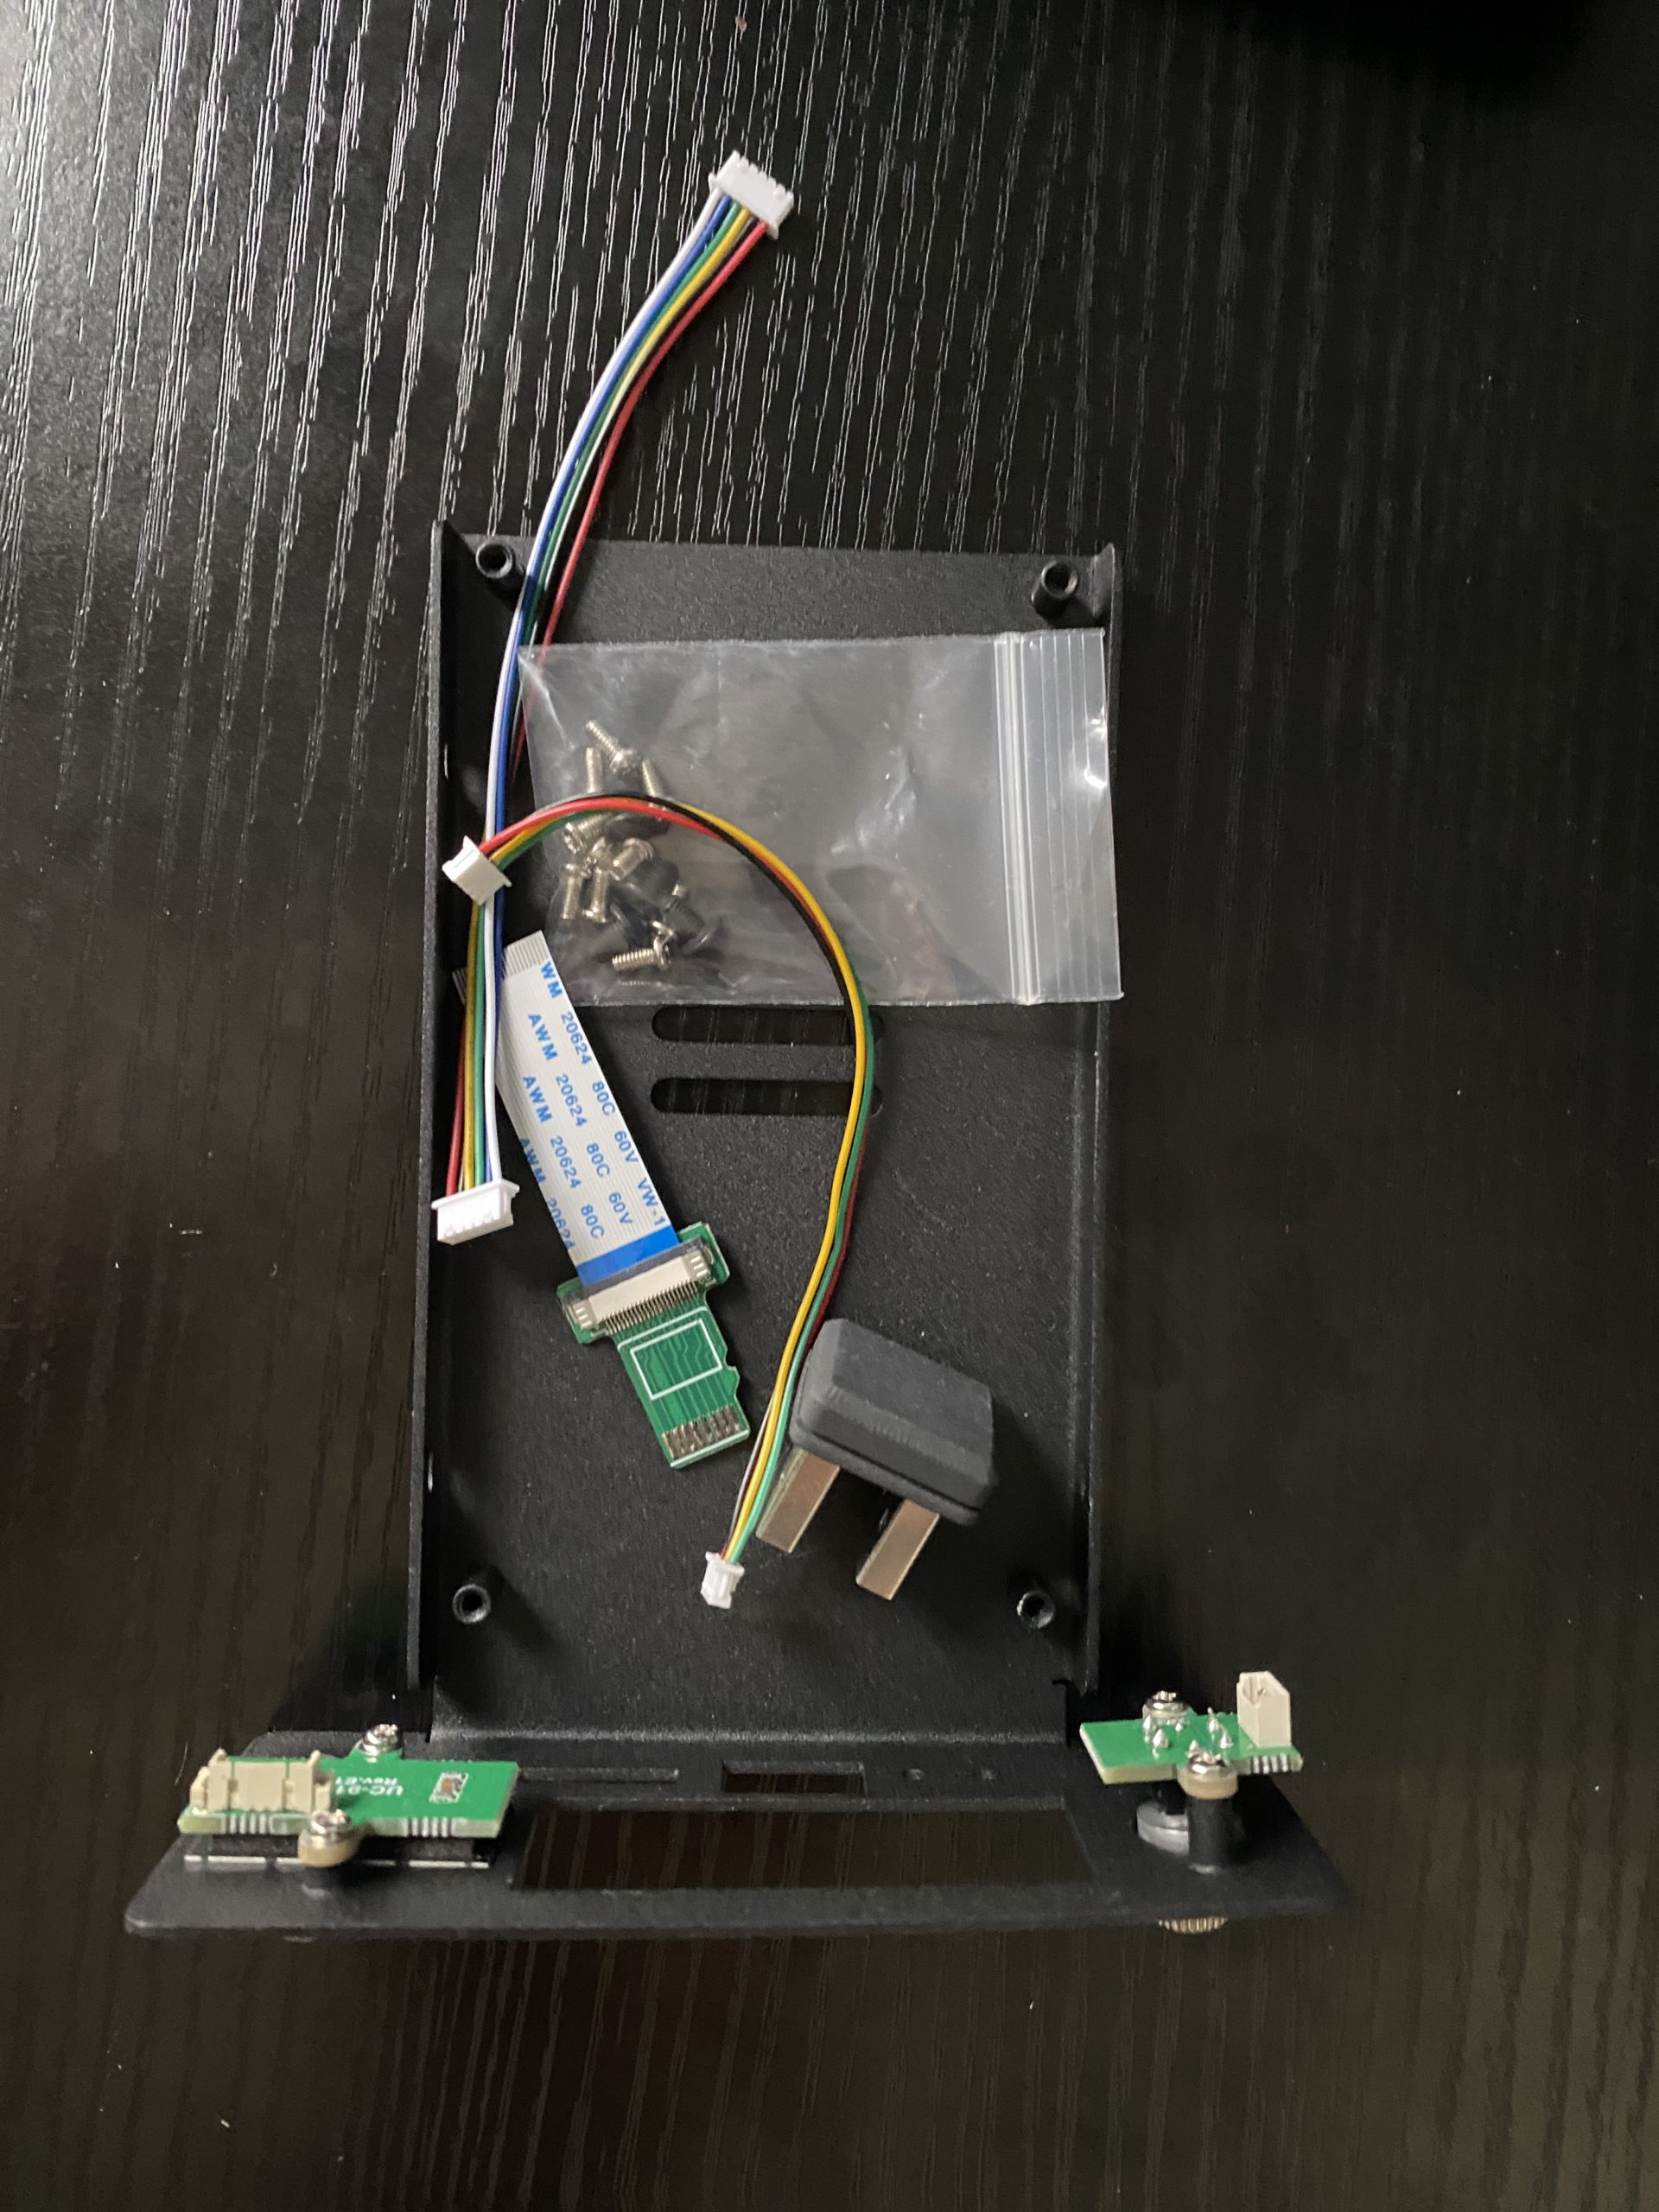
There is a front panel with a LCD that can display IP address, CPU temp, disk usage, and RAM usable (small python app that can be tweaked). There are SD and SSD activity LEDs on the shield card that show, and they provide a jumper cable for the SD card of the PI so that it is accessible from the front panel (via the shield card). Lastly, there is a power switch, so that you can do a clean shutdown.
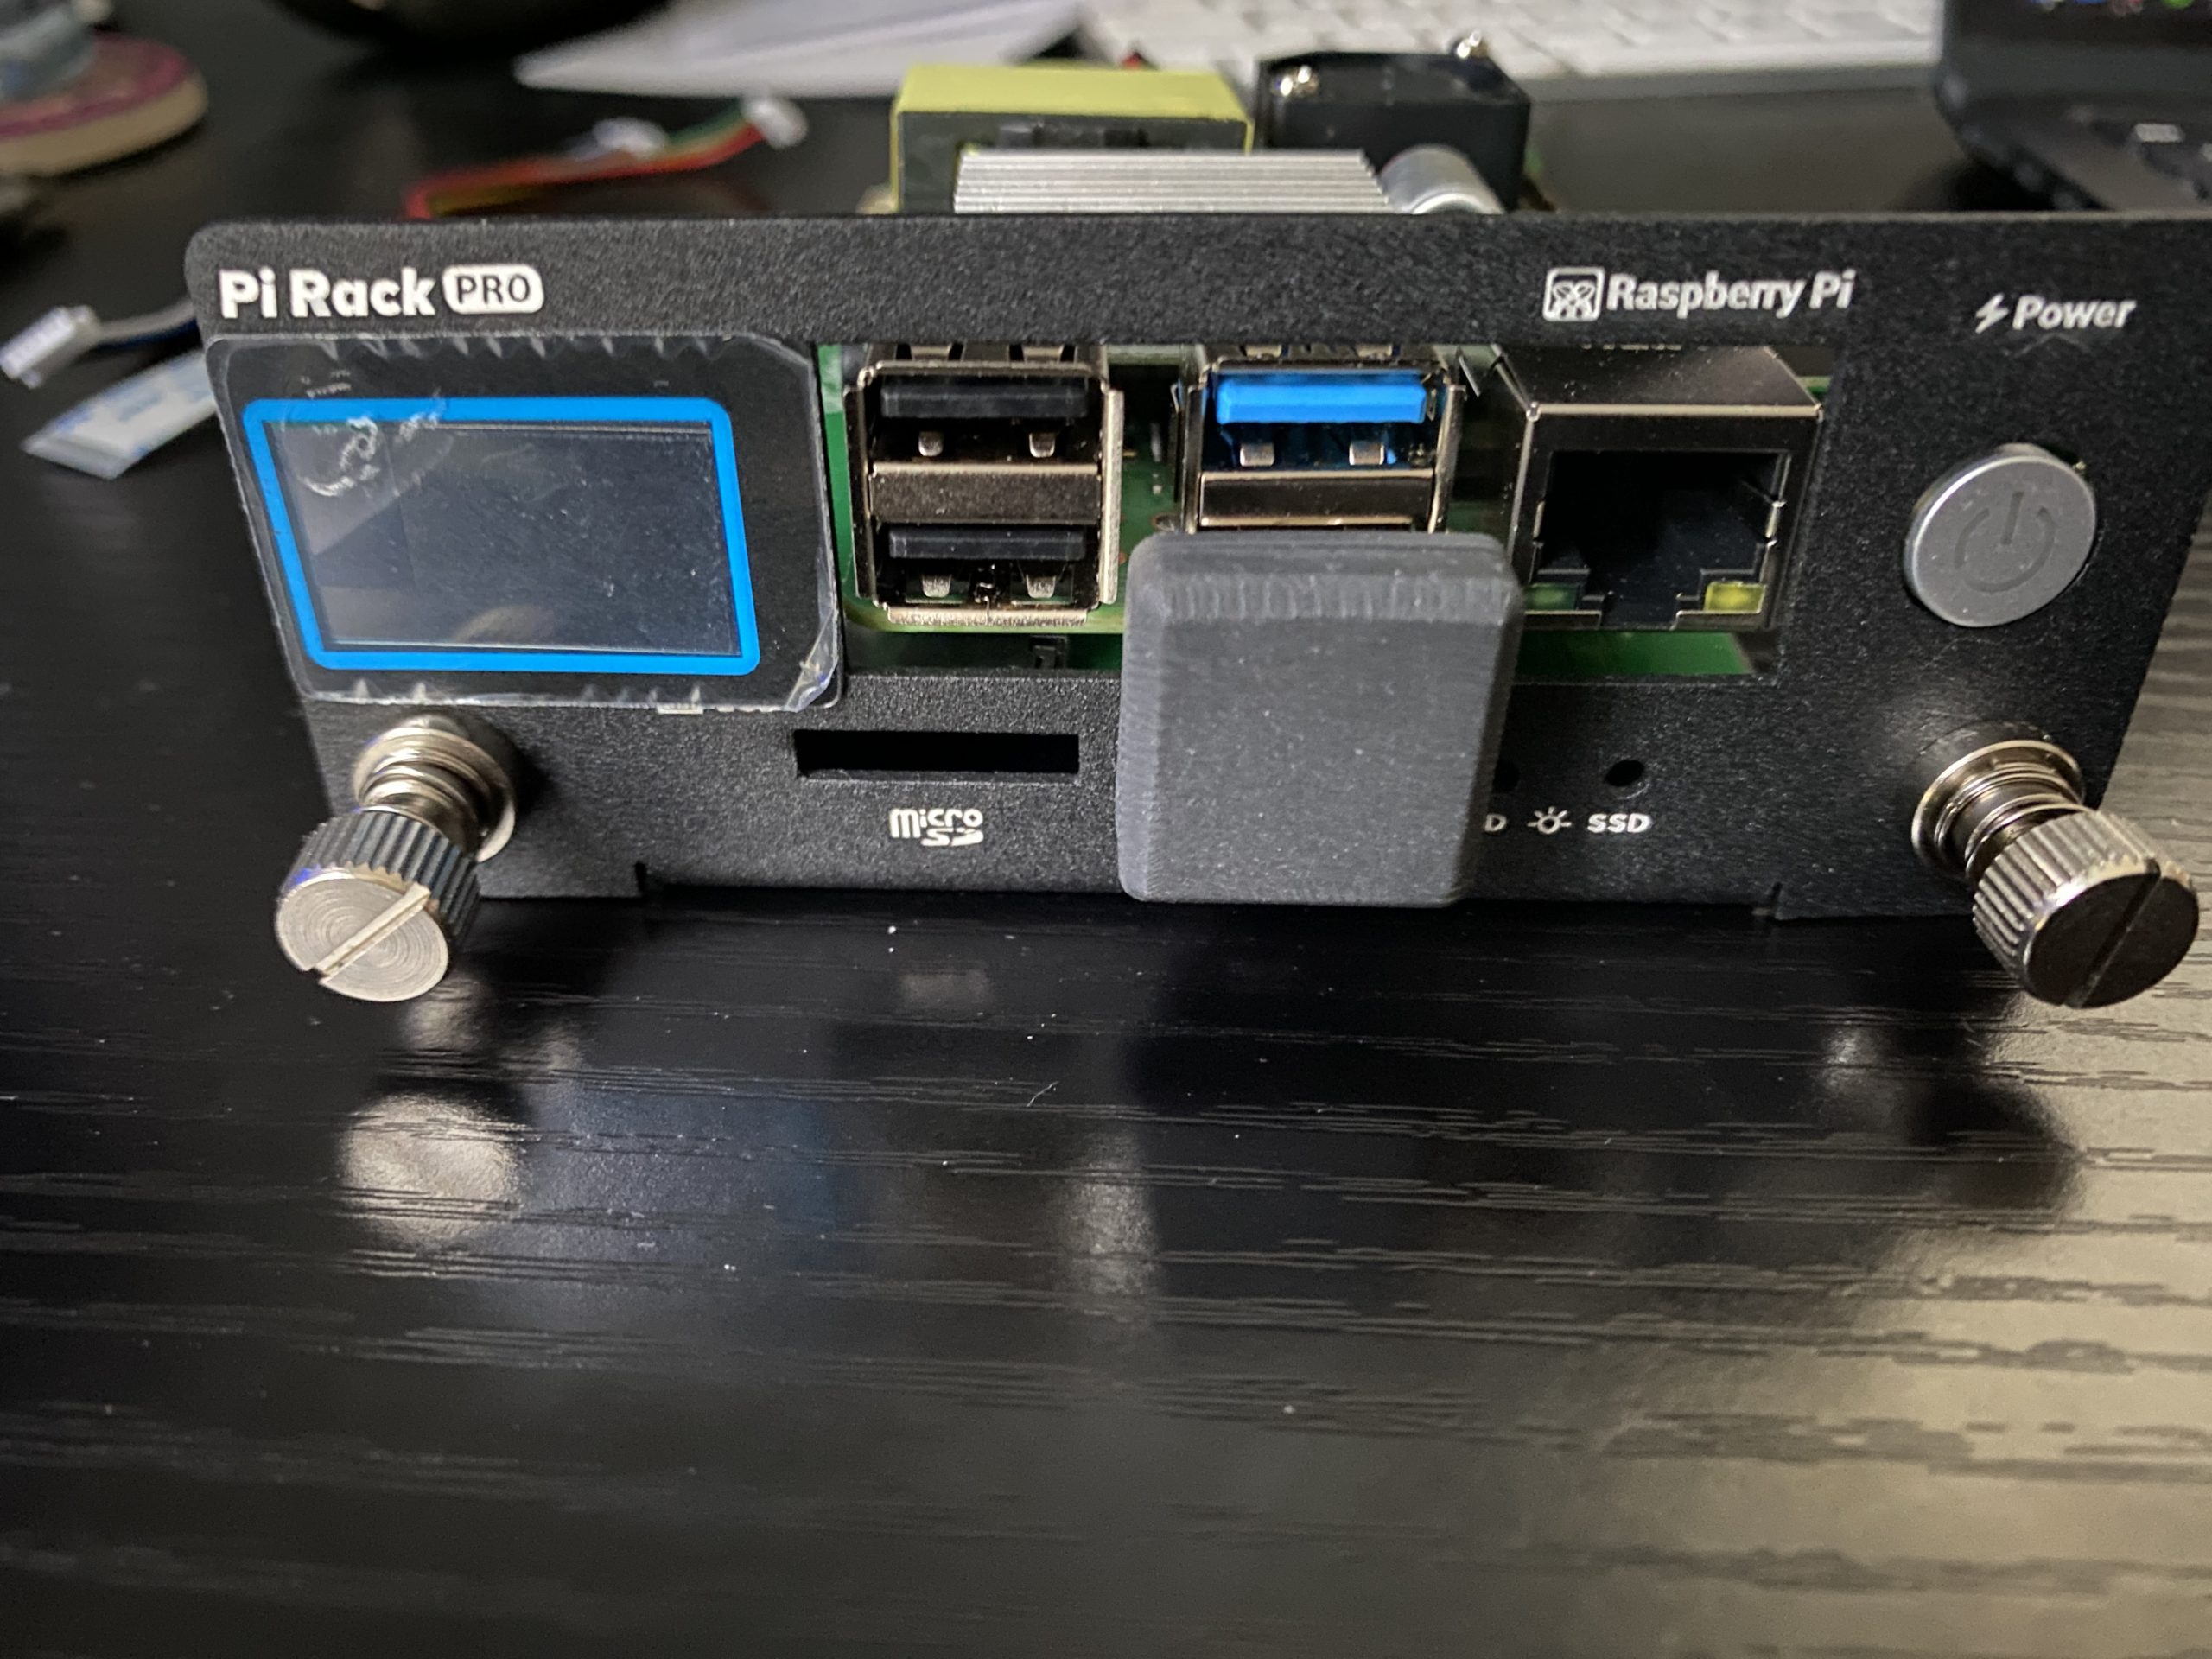
There is room for the PI’s PoE Hat and a fan connector on the shield card, so that you can attach one of the fans in the enclosure to one of the PIs. The face plate is made out for a Model 4B PI. the enclosure is pricey, but a really great way to place these into a rack, have a SSD drive connected, and be able to cleanly shutdown the units.
The RM1U is not enclosed, and there are no fans, but I wasn’t concerned, as this unit would be in the basement, which is cool year round. I don’t know whether UCTRONICS will make something for the Raspberry PI 5s or how long they will make these rack mounts and enclosures, but it was a nice way for me to bundle things up.
For each of the Raspberry PIs, they will have a fixed IP address and a unique name (versus having node1, node2,…). I chose to have my router reserve IP addresses, outside of the range used for DHCP. Alternately, you could configure each PI with a static IP address.
Part II will discuss how to prepare the PIs for cluster use.