Part II: Preparing the Raspberry PI
Assembly and OS Install
For the very first PI4 that I bought, I got the CANA kit, so it had a plastic enclosure, power adapter with switch, and 126 GB SD card. With this system I connected a mouse, keyboard, and HDMI monitor, and used the Raspberry PI imager app on my MacBook and installed Ubuntu server (22.04) on the SD card. I booted up and made sure everything worked.
Since I’m using these UCTRONICS trays, I would follow these steps to partially assemble the unit. I’d connect the SSD drive’s SATA connector to the SATA shield card, and screw the SSD card to the side of the tray. Next, I installed the SD adapter into the SATA shield card. I aligned the Raspberry PI4 onto the posts and screwed it on using the threaded standoffs for the PoE+ hat. I inserted the SD adapter into the SD slot of the PI, connected the OLED and power switch cables from the SATA shield card to the front panel. Lastly, I would connect the USB jumper from the SATA shield card to the Raspberry PI4 card for SSD drive connections.
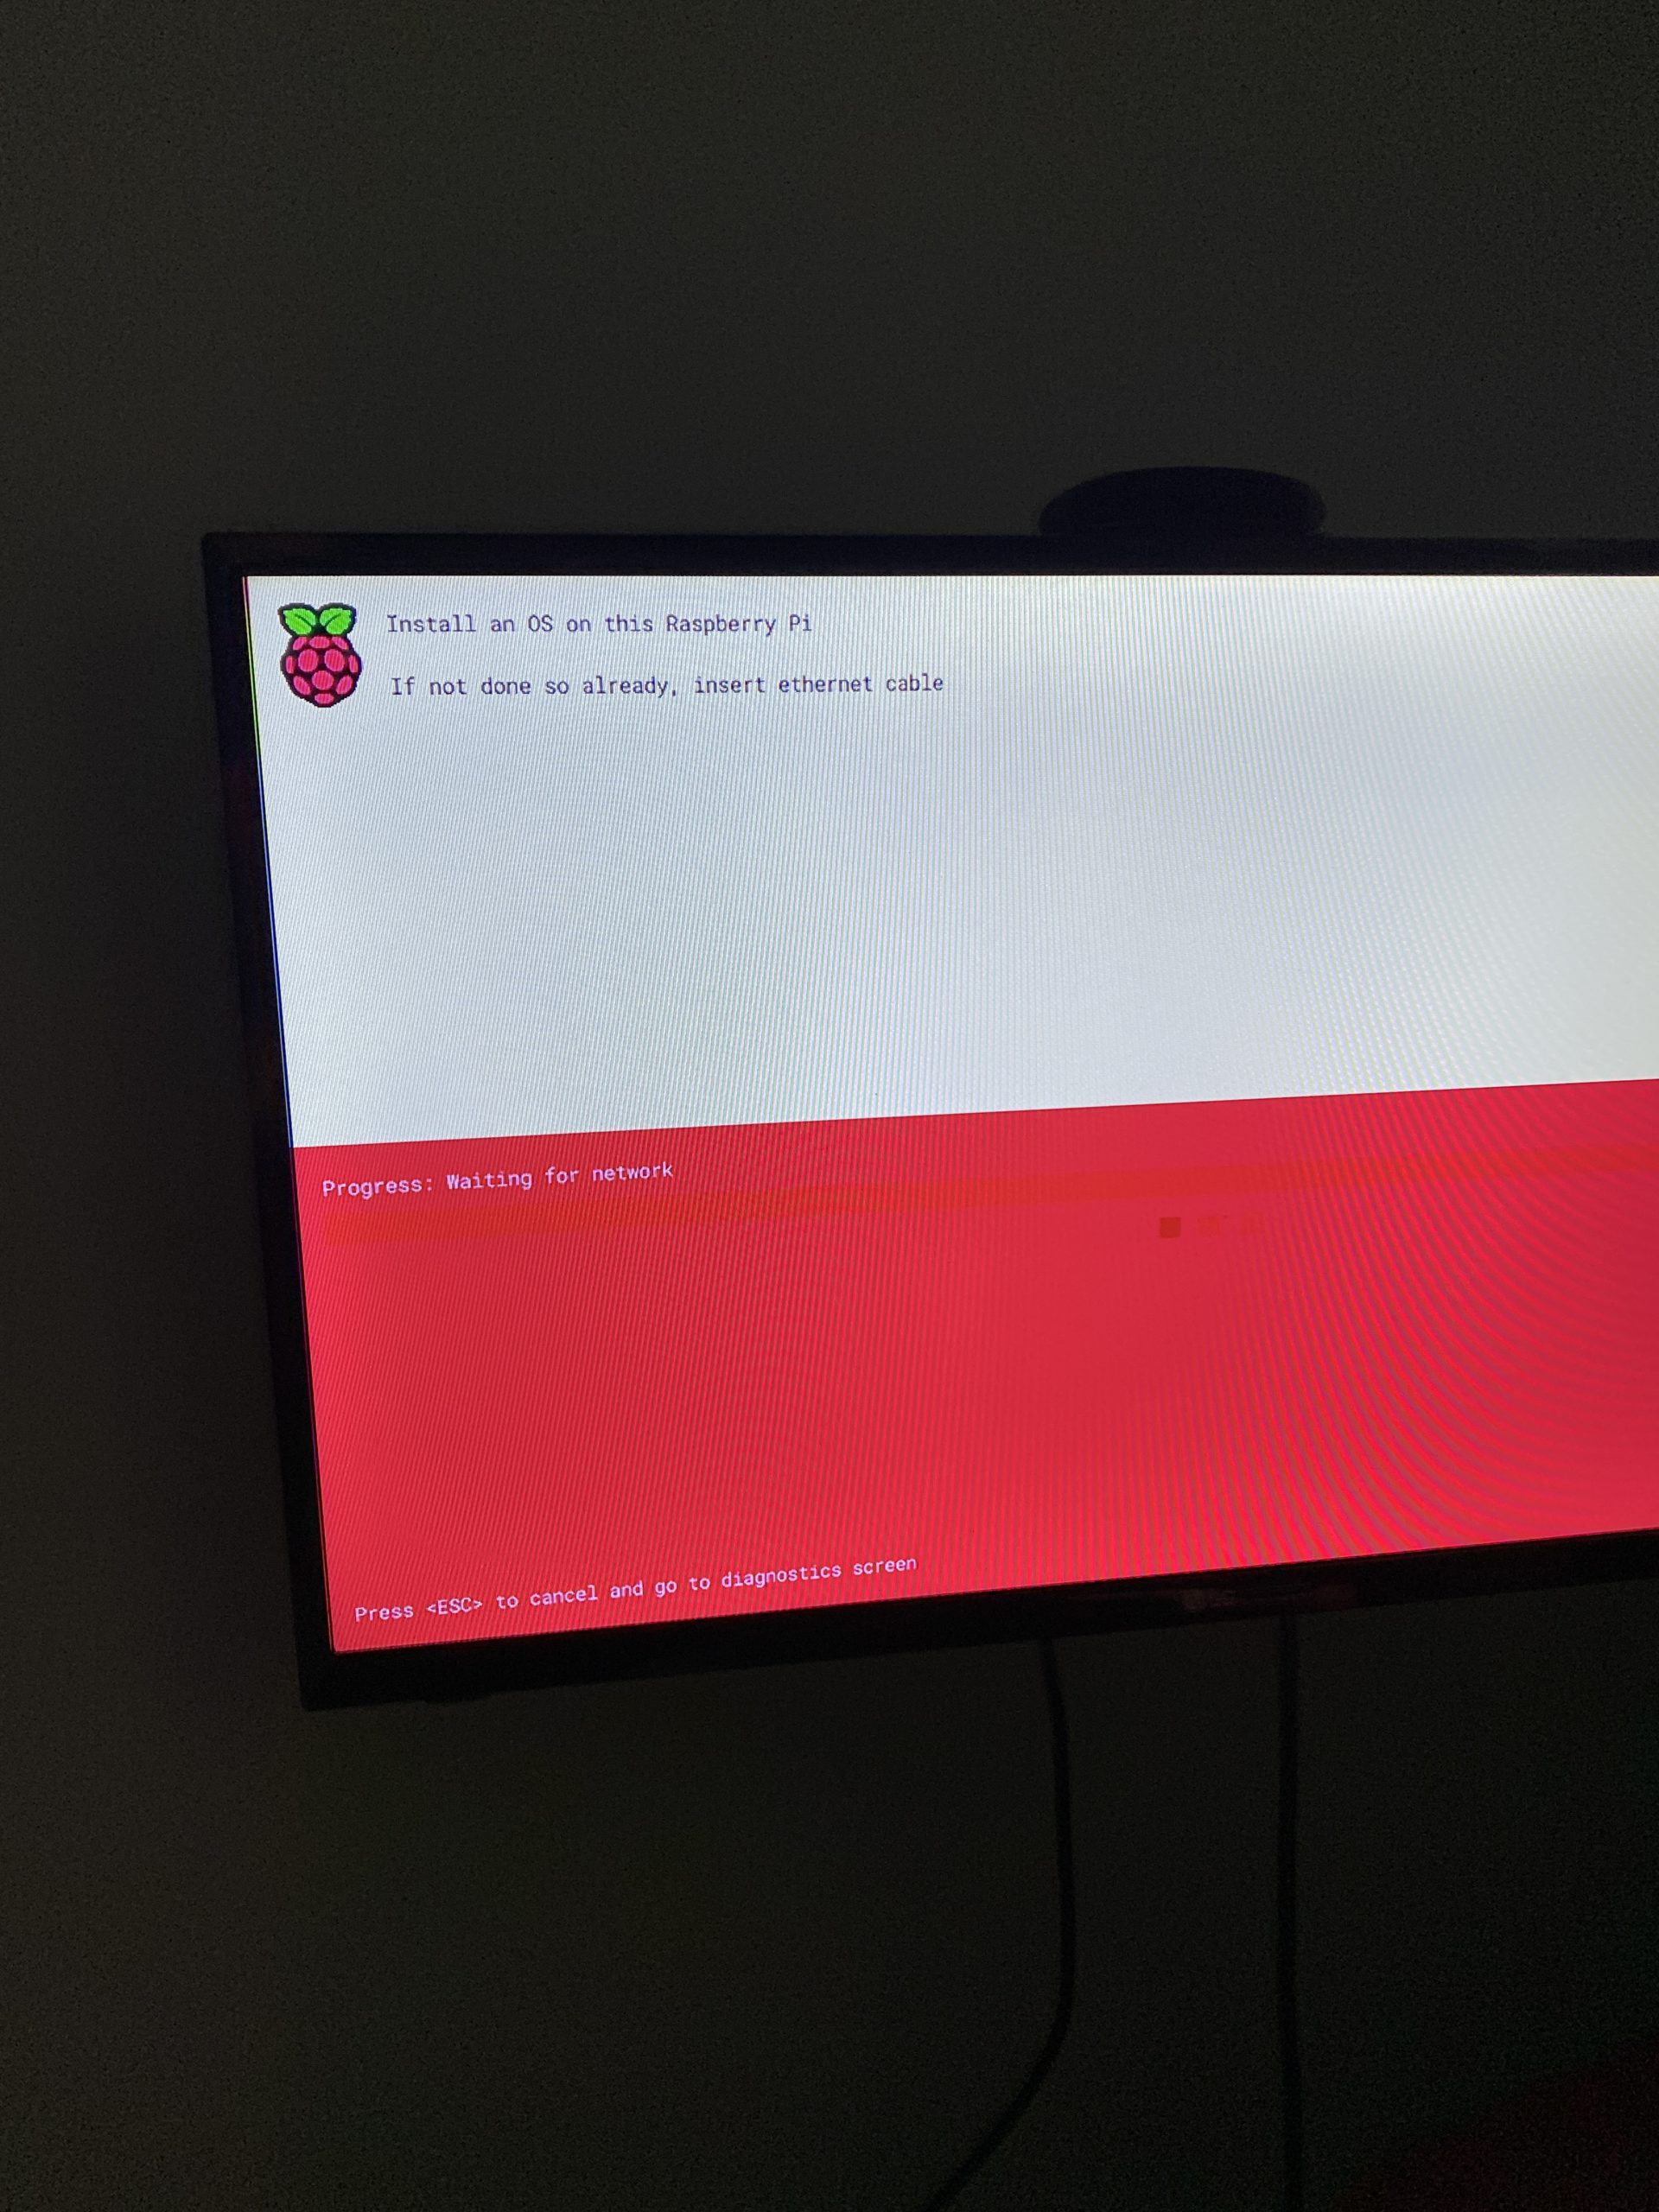
I reused the power supply from my CANA kit, and connected the display and keyboard to the Raspberry PI. I think I could connect power to either the USB-C connector on the PI or on the SATA shield card. An alternative would be to attach the PoE+ hat, but then I’d have to connect ethernet to the PoE+ powered hub, and that was down in the rack, where I didn’t have an HDMI monitor. So I skipped that part, as I was doing this in the study. I connected ethernet cable and powered on the unit. The RPI will display an install screen, where you can press SHIFT key to cause net boot.
This will download the installer image and then restart. You’ll eventually get an installer screen like what the PI imager has on the Mac/PC. It is easiest to use a mouse, but if you don’t have one, you can press the tab button to advance field, and enter to select.
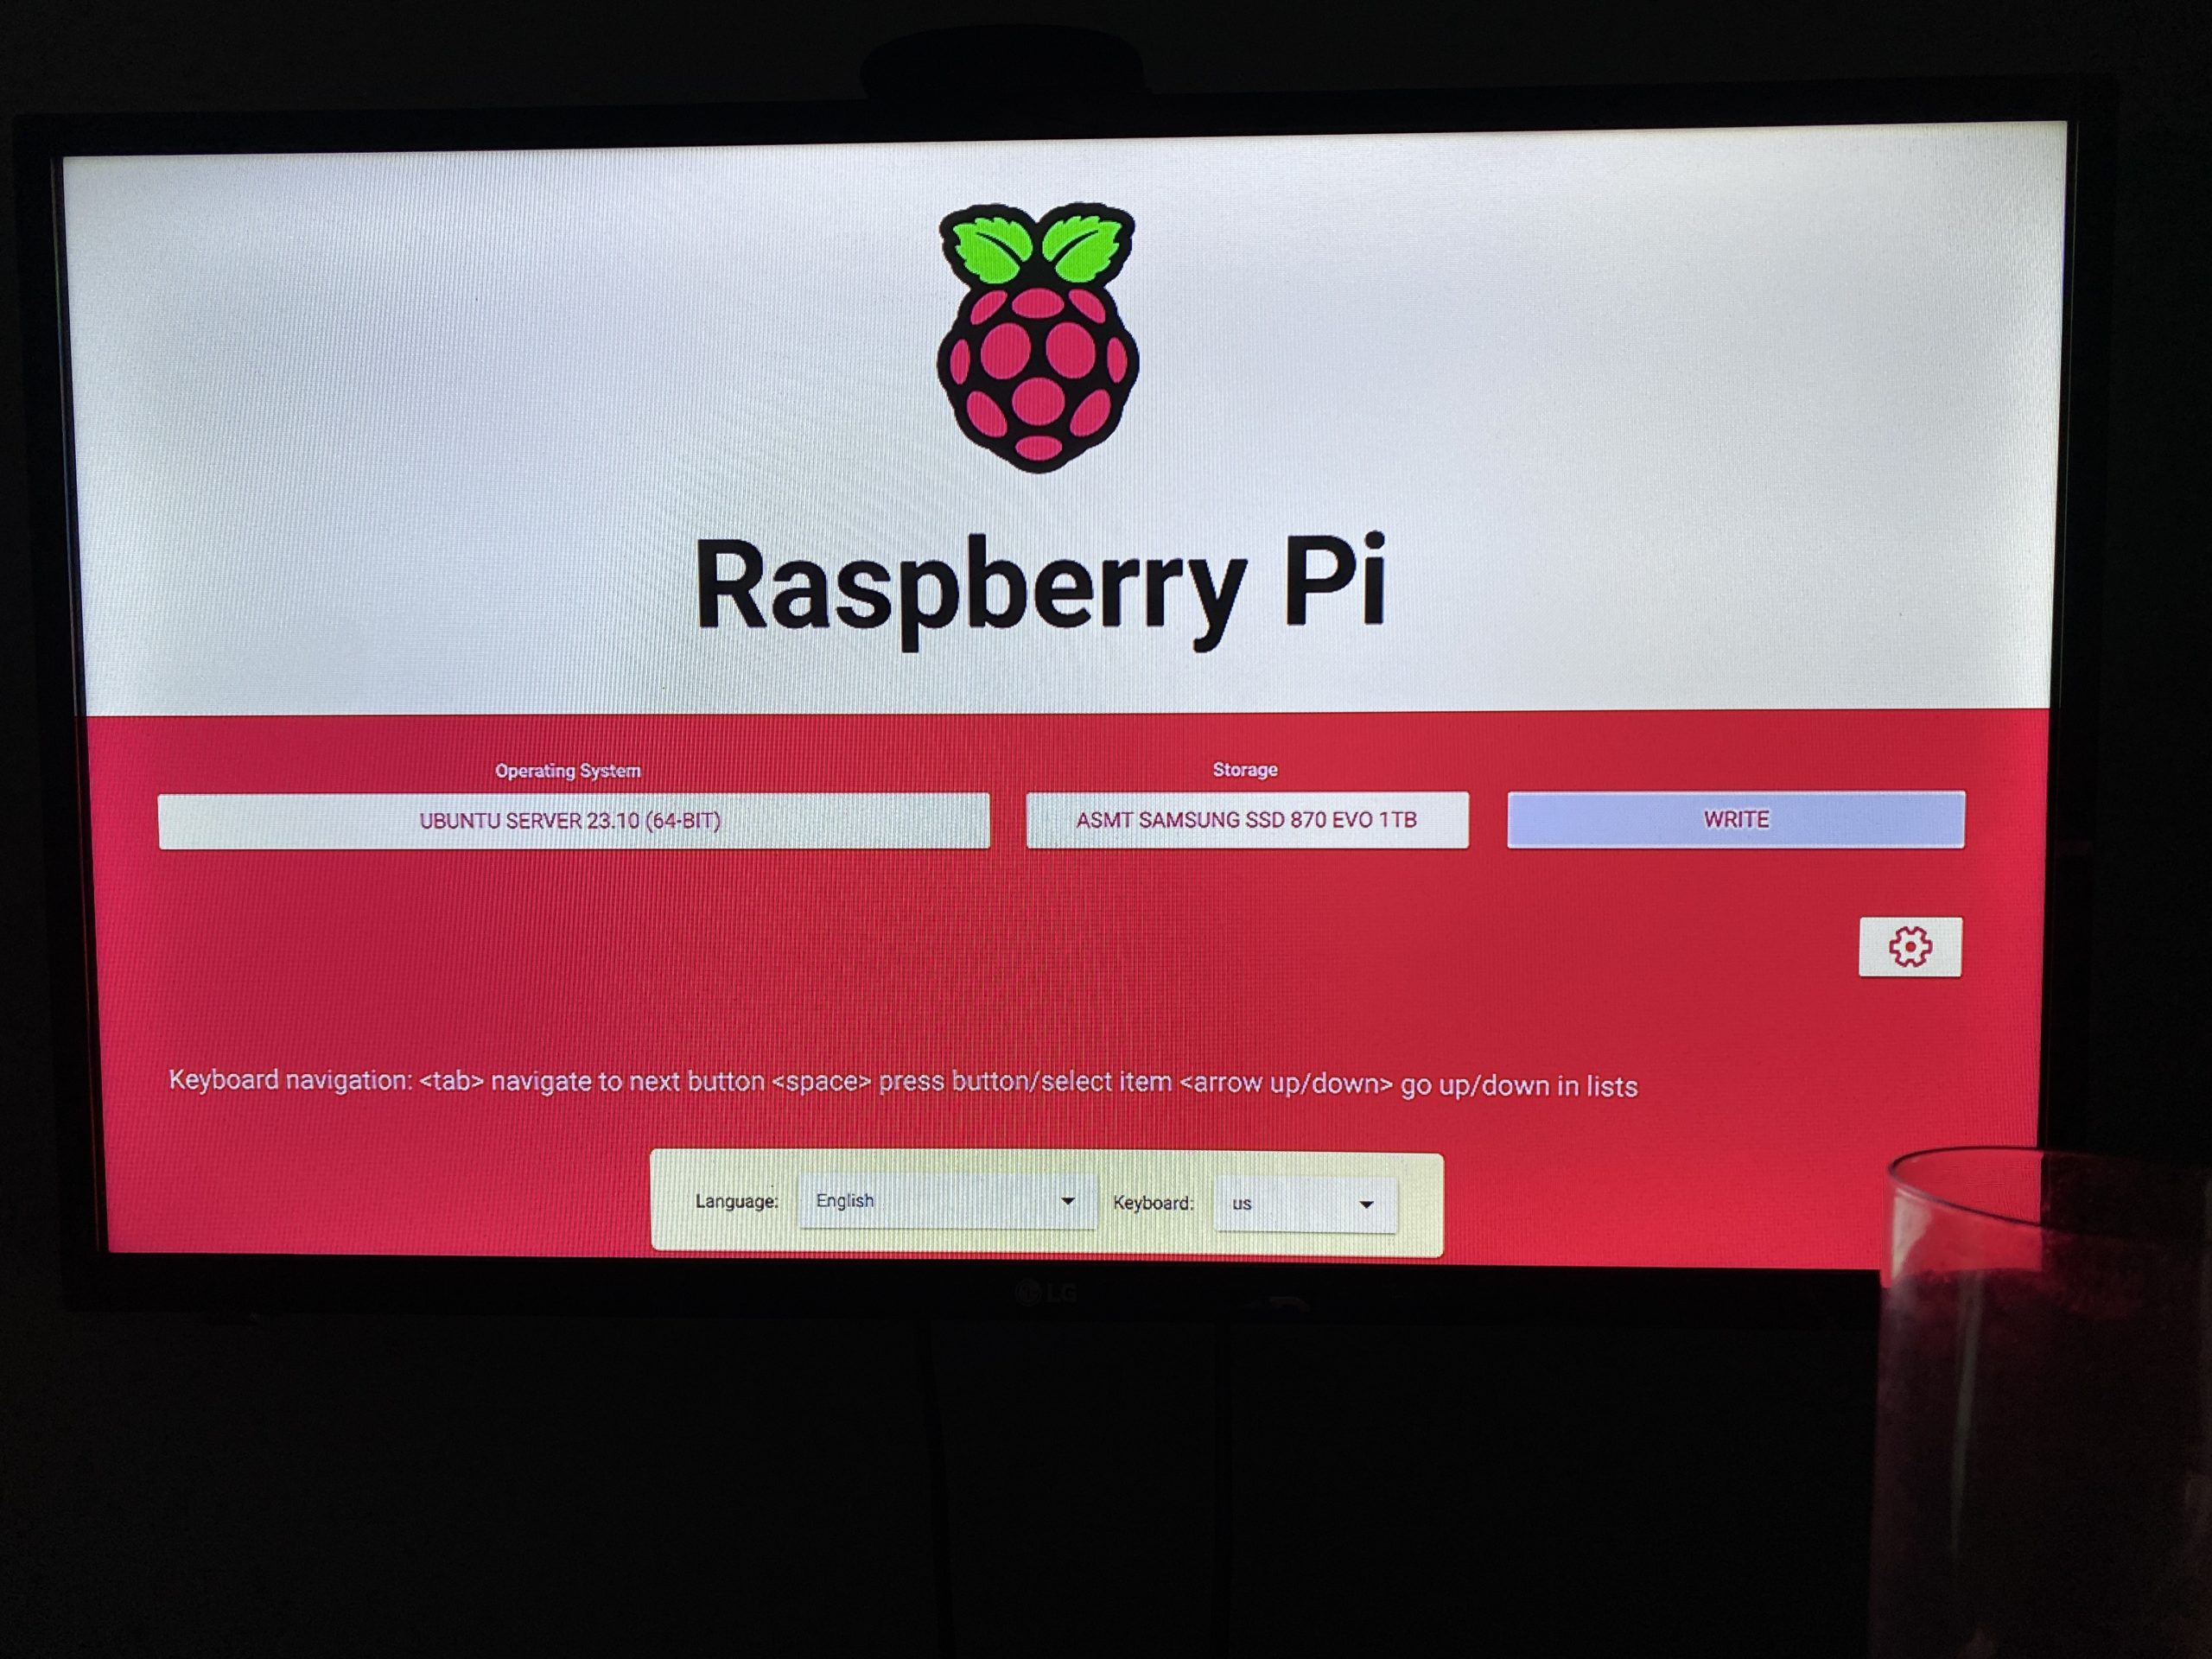
You’ll want to select the model of Raspberry PI (4), select the OS (I used Ubuntu 23.10 64 bit – in the past it was 22.04), and then select the storage device.
You should see the SSD drive listed (Samsung 1TB drive in my case), and select it. Click the next button, and select to edit the configuration. Enter the host name, enabled SSH with password authentication (for now), and selected a username and simple password (for now). I set the time zone as well. Here is an (older installer) screen shot of some settings.
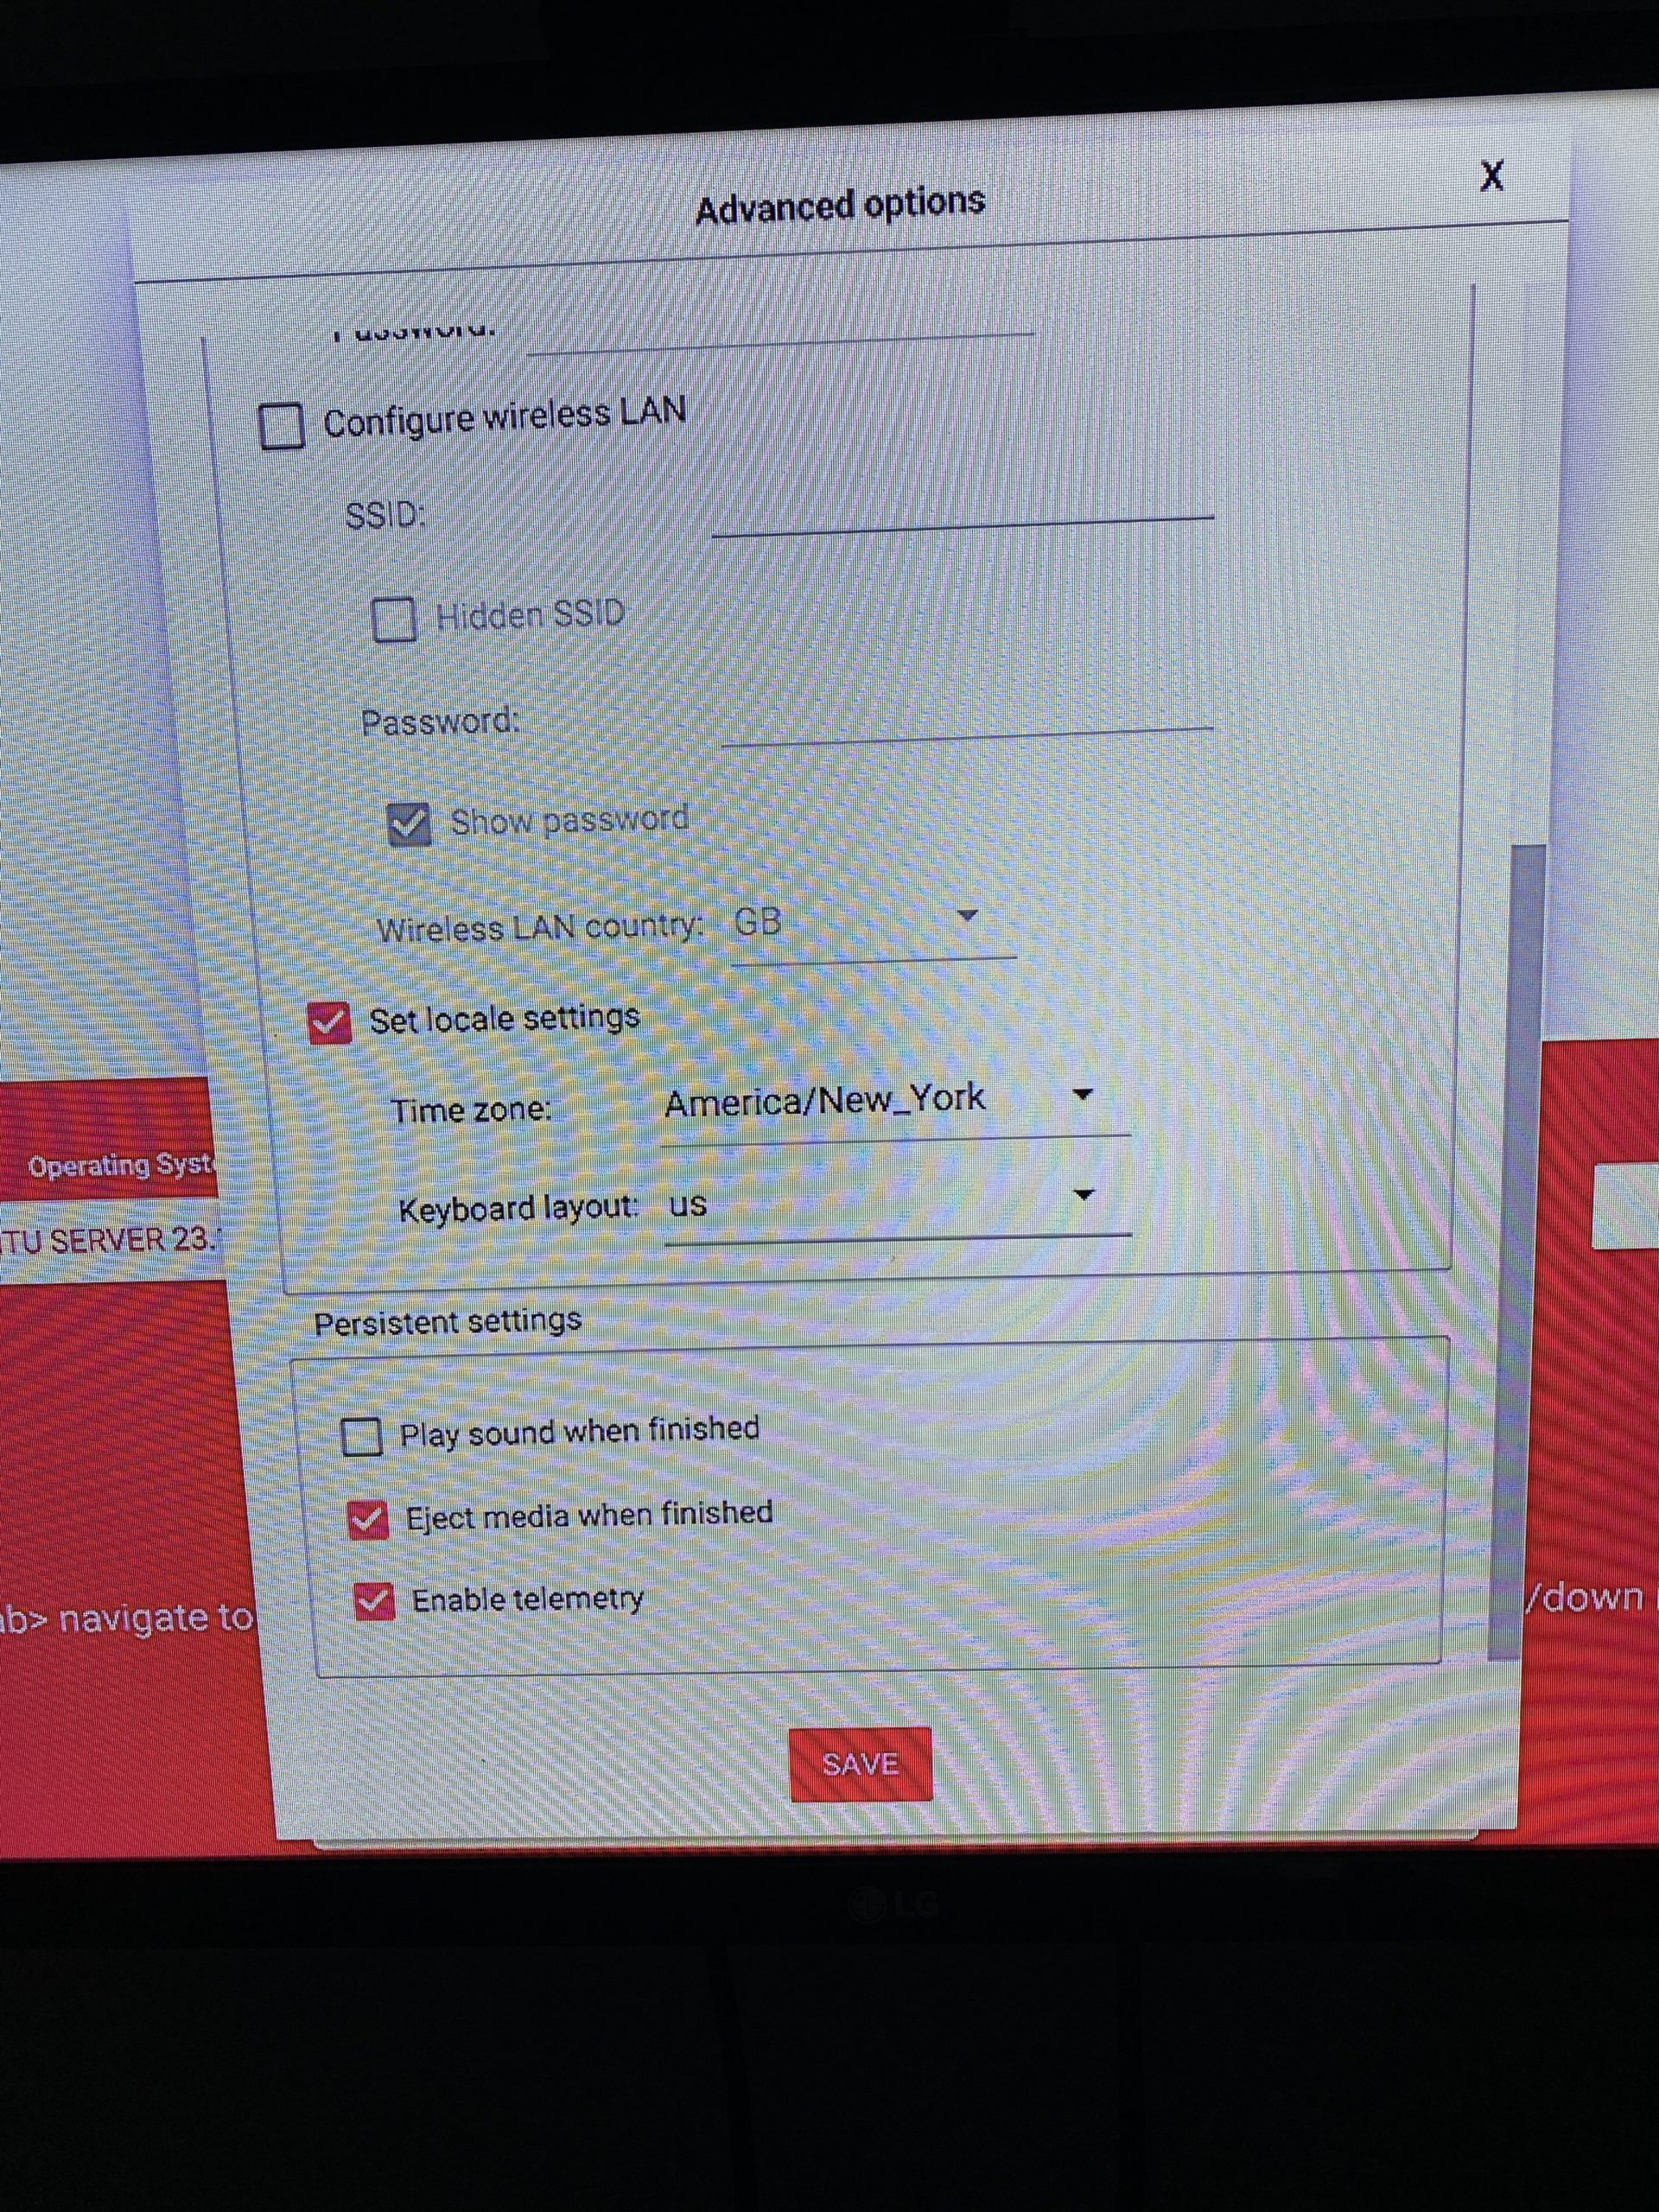
Lastly, click on SAVE, click on YES to use the changes, and then click on the WRITE button. Again, here is an older screen shot, where there was no PI model button, and the configuration (gear icon) was on the same screen.
Note: I had one case, where the installer would download, and RPI reboot, but the installer image was not coming up and I was seeing kernel panic displayed on the console. I retried, with the SATA drive unplugged, and then plugged it in, after the installer was up and running and I was filling out the storage selection.
While the installer was running, I checked on my router for the hostname, and made a DHCP reservation for the final desired IP I wanted for that system. I also created a HOSTNAME.home DNS entry for this node.
At one point, it rebooted and eventually displayed that cloud init was done. I pressed ENTER and was able to log in. I shut down the system, and then started it back up, so that it would pickup the desired IP address that I setup on my router.
Node Setup
To make setup easier, I created an SSH key on this system, so that I could SSH in from my MacBook and do all the rest from there, without needing the display and keyboard connected. I SSHed into the system, created a key with:
ssh-keygen -t ed25519
and then I copied the public key to all the other nodes and systems so that I can easily get into the system. I also added this new system to the ~/.ssh/config file that I use on other systems, so that I can ssh using the host name. I set the login password to what I really wanted. Make sure that you can ssh into each node, without using a password.
Rather than rely on a DHCP reservation, I changed the /etc/netplan/50-cloud-init.yaml to assign a static IP, set the router IP, and set DNS servers. For the first one, I used my router’s IP as I have it set up to use my Pi-Hole address blocker for primary DNS and a public DNS as a secondary one. This way, later, when I add Pi-Hole to Kubernetes, I can just change the IP on the router and every node will use that new DNS. Optionally, you can add a search clause. I tried “.home” thinking it would then resolve my hosts by hostname, but that isn’t working out. Here is an example 50-cloud-init.yaml:
network:
  version: 2
  renderer: networkd
  ethernets:
    eth0:
      addresses:
        - 10.11.12.###/24
      routes:
        - to: default
          via: 10.11.12.1
      nameservers:
        addresses: [10.11.12.1, 208.67.220.220]
        search: [.home]
This was done on each Raspberry PI, with the desired IP address specified, followed by “sudo netplan apply” to update the node. Just be sure to do this via the console, otherwise you’ll loose connection, if done from an ssh session.
Of course, there are several other things that need to be set up on a Raspberry PI, like:
- Setting the domain name for the node.
- Setting up the OLED display and power switch, since I’m using UCTRONICS tray.
- Changing kernel settings.
However, since I’ll be using kubespray to provision the cluster, and kubespray uses ansible, there is the ability to use ansible playbooks to provision all the nodes in a more automated fashion on all nodes. This will be detailed in Part IV, but the next step (Part III) is to do some (optional) partitioning of the SSD drive.
Side Bar
Alternative to netbooting and imaging
On some older units, I went through all sorts of contortions, to install an OS on the SD card using the Raspberry PI imager on my MacBook, booting, updating the rpi-eeprom, setting things up to net boot. There is a bootconfig.txt file that can be used to update the bootload for enabling net boot. I had this entry in there:
BOOT_ORDER=0xf241 SD(1), USB(4), network(2), retry each (f).
Though I’ve seen 0x41 as well. It was really messy. This new loader is much easier.
My SSD drive is not seen at netboot!
I hit a case with some newer SSD drives (a Crucial 2TB BX500 drive), where the drive did not show up in the installer’s list of storage devices to select. To get around this I had to do the following…
I attached the SSD drive to my Mac, using a SATA III adapter, and used the Raspberry PI imager to image the disk (using the same settings as explained above).
Then, I attached the SSD drive to the Raspberry PI’s USB3 port (with the UCTRONICS I installed the drive in the tray, connected to SATA Shield card, and used the provided USB3 jumper. I made sure there was no SD card installed, connected an Ethernet cable and started up the Raspberry PI, making sure it booted from the SSD card.
I have had cases where I had to boot from the SD card running Raspberry PI OS (imaged on a Mac or via net booting the RPI), and run these commands, to update the OS, EEPROM, and bootloader…
sudo apt update
sudo apt full-upgrade
sudo rpi-update
sudo rpi-eeprom-update -d -a
I then rebooted, so that the new firmware was activated, and then tried to boot using the SD card and see if the SSD drive was visible (sudo fdisk -l), and then boot without the SD card, hoping it would boot from the SSD drive.
I also tried netbooting to the installer, and instead of choosing an OS, I chose Utility Apps, Bootloader, and picked the option to boot to USB. I wrote that to the SD storage device, it rebooted, and I checked to see if it booted to the SSD. If it did, I would shutdown and restart, without the SD card.
It was a bit of a mess trying to get it working. This happened recently, when I wanted to setup two more PI 4s. One I had to go through these hoops, and the other one worked, after I imaged the SSD on the Mac. I guess the PI4 bootloader should boot from USB, out of the box. For some reason, I hit one that did not.